
A beautiful gel manicure can make your hands look polished, neat, and put together. The glossy finish, smooth color, and long-lasting wear are some of the reasons so many people love gel nails. The good news is that you do not always need a salon appointment to enjoy that look.
Learning how to achieve the perfect at home gel manicure can save time and give you more freedom to experiment with colors and styles. With the right steps, your nails can look clean, shiny, and professional right from home.
The secret is not only the gel polish itself. Nail preparation, proper application, curing techniques, and aftercare all work together to create beautiful results. Small details often have a big impact on the final look.
In this guide, you will find simple tips that help improve every stage of the process. From preparing your nails to protecting your finished manicure, each step helps create a smoother and longer-lasting result.
A little patience and practice can turn your at-home manicure routine into one of your favorite self-care moments.
1. Gather All Your Supplies First
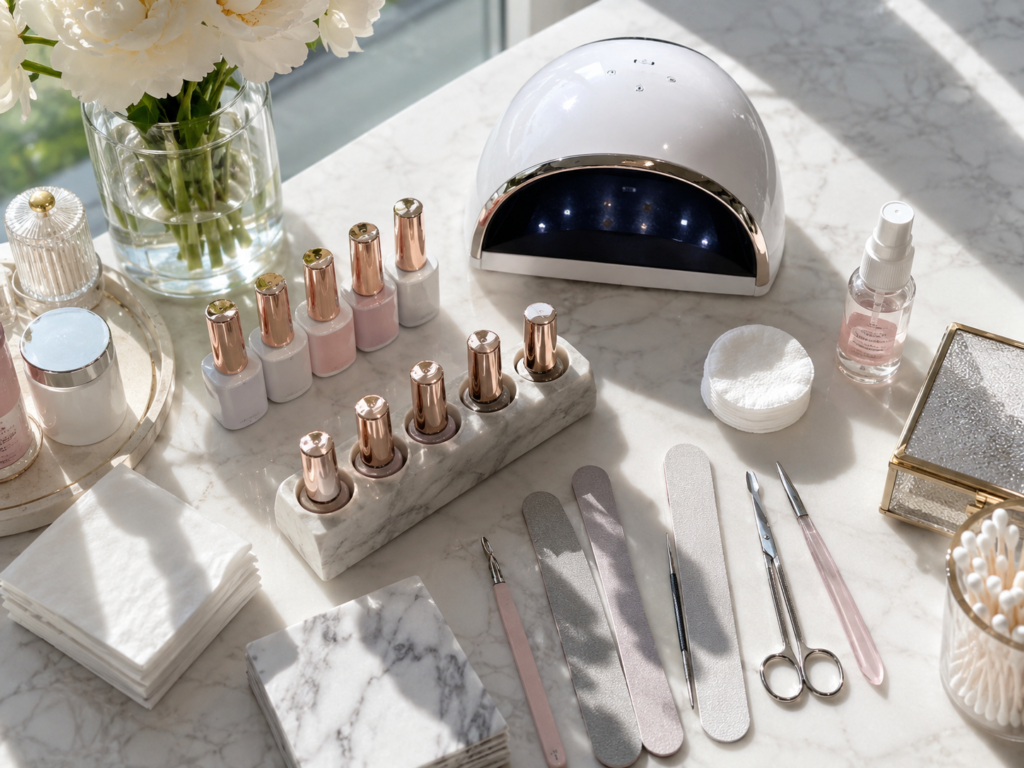
A successful gel manicure starts with good preparation. Having everything ready before you begin helps the process feel smoother and more organized. Searching for tools while your nails are half-finished can slow things down and affect the final result.
Why it helps:
- Creates a smoother process
- Reduces mistakes
- Saves time
Basic supplies often include gel polish, a UV or LED lamp, a base coat, a top coat, nail files, and lint-free wipes. Keeping everything nearby helps you focus on creating a clean manicure and Try arranging your tools in the order you plan to use them.
2. Start With Clean Natural Nails
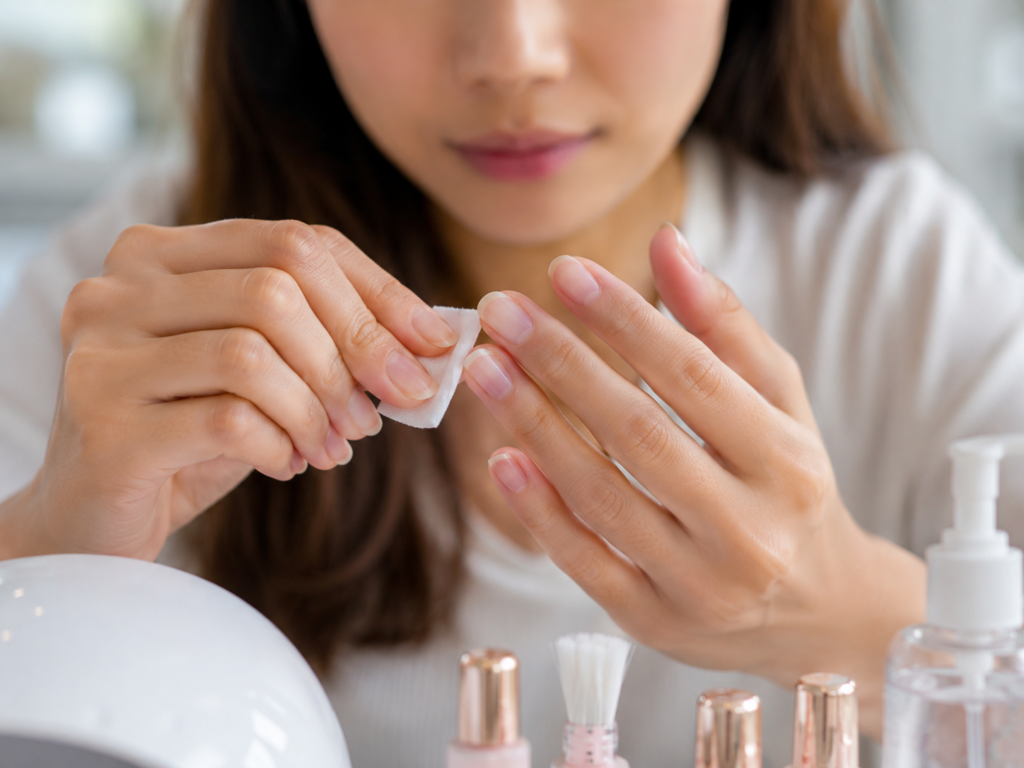
Clean nails provide the best foundation for gel polish. Any oil, lotion, or residue left on the nail surface can affect how well the gel adheres. A clean starting point helps create stronger and longer-lasting results.
Why it helps:
- Improves gel adhesion
- Creates a smoother surface
- Reduces lifting
Wipe each nail carefully before applying any products. This simple step helps the polish stay in place and look better over time.
Ask for a nail cleanser if you want a product made specifically for preparation.
3. Shape Nails Before Application
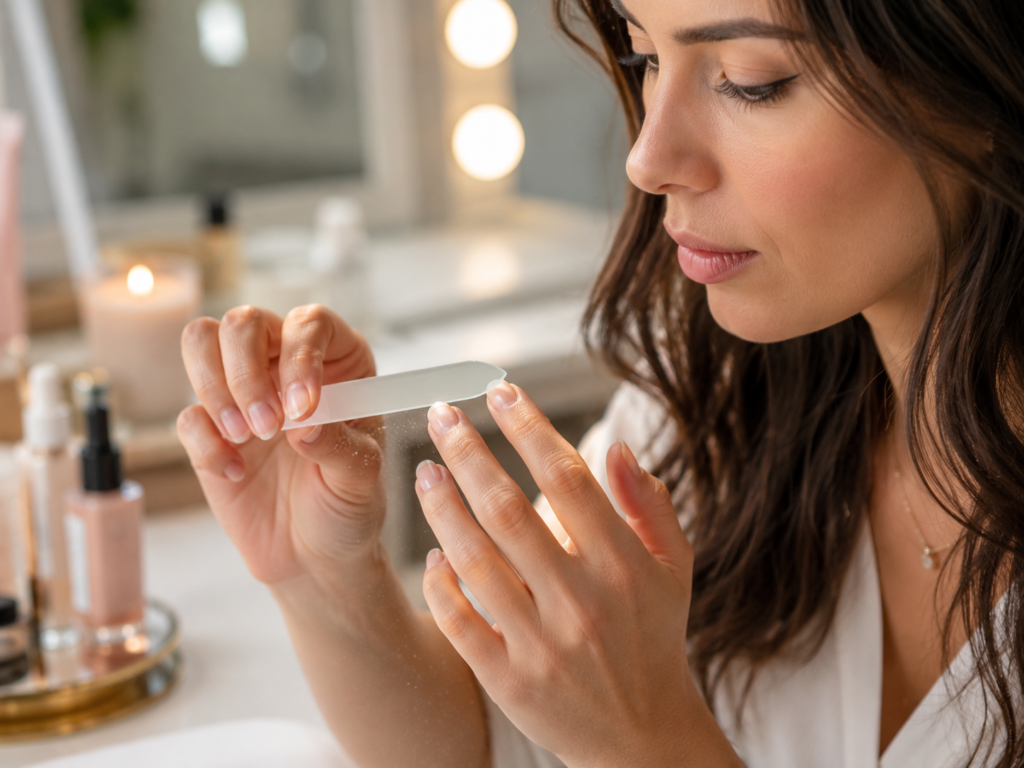
The shape of your nails plays a big role in the finished appearance of your manicure. Filing and shaping before applying gel creates a cleaner and more balanced result. It is much easier to perfect the shape before the polish goes on.
Why it helps:
- Creates a polished appearance
- Improves symmetry
- Supports neat application
Choose a shape that feels comfortable and suits your lifestyle. Consistent shaping helps every manicure look more professional.
Try a soft oval shape for a timeless look.
4. Gently Push Back Cuticles
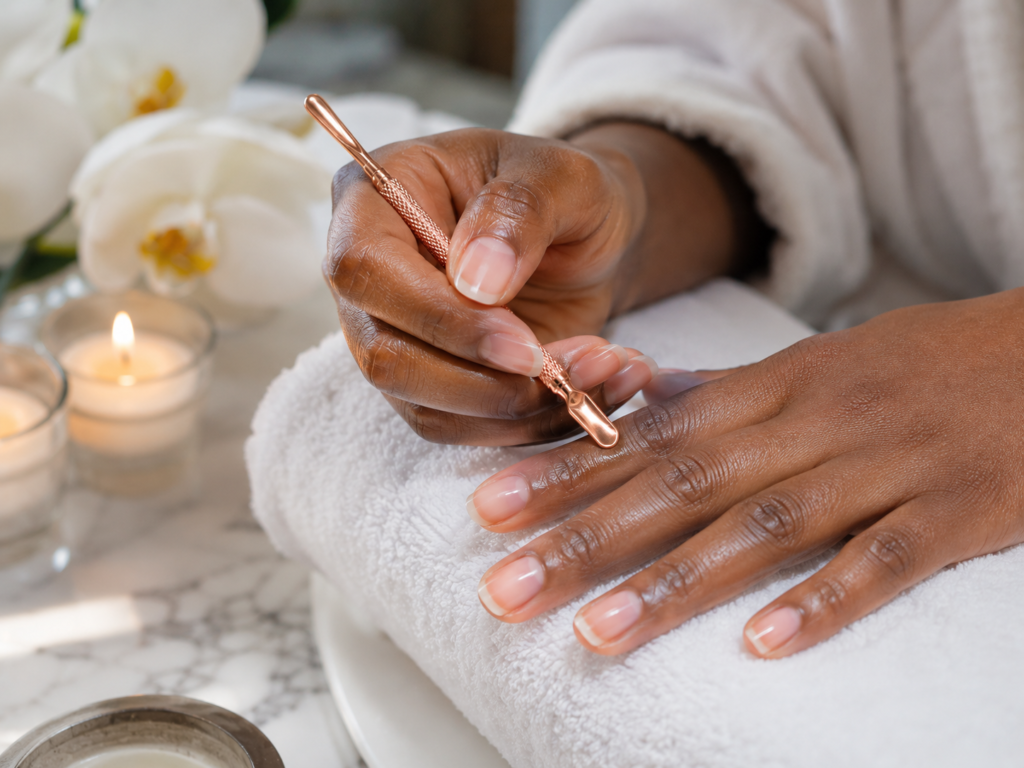
A clean cuticle area helps create a salon-like finish. Gel polish should sit on the nail rather than on the surrounding skin. Gently pushing back the cuticles creates more space for precise application.
Why it helps:
- Creates cleaner edges
- Improves appearance
- Helps polish last longer
Take your time and work carefully. A tidy nail area makes a big difference in the overall result.
Pair this step with cuticle oil after the manicure is complete.
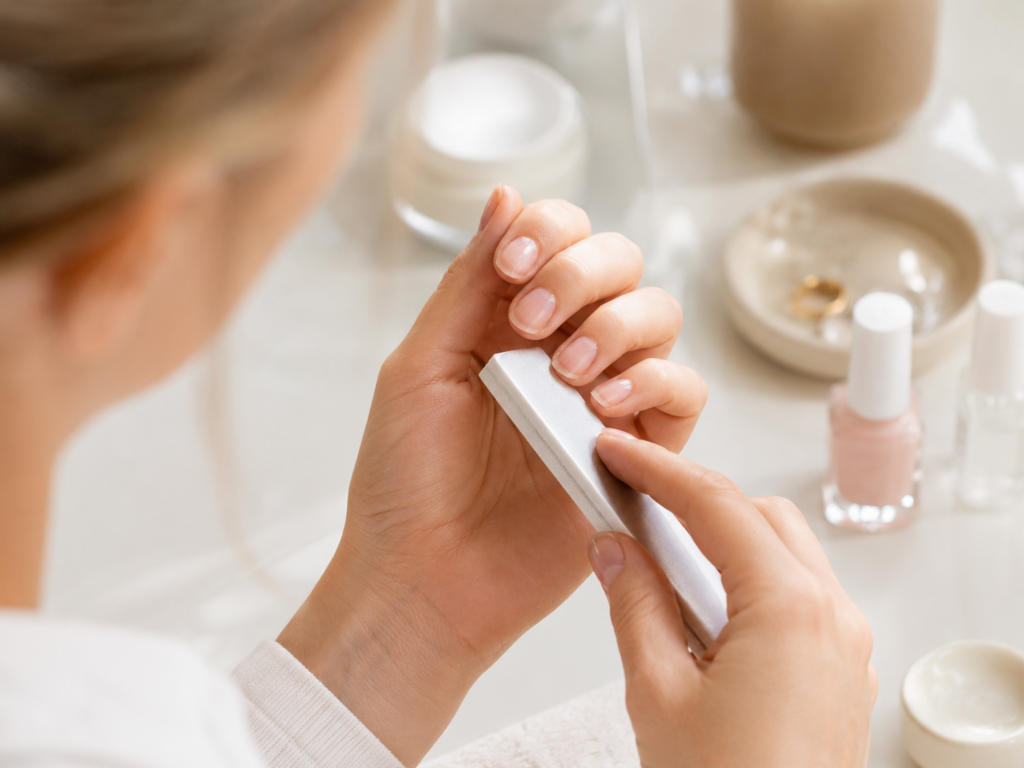
5. Buff the Nail Surface Lightly
A gentle buff removes excess shine and creates a slightly textured surface. This gives the gel polish something to grip, helping it stay in place more effectively.
Why it helps:
- Supports adhesion
- Creates an even surface
- Improves durability
The goal is not to thin the nail. A light buff is enough to prepare the surface for application.
Try using a fine-grit buffer for a softer touch.
6. Apply a Thin Base Coat
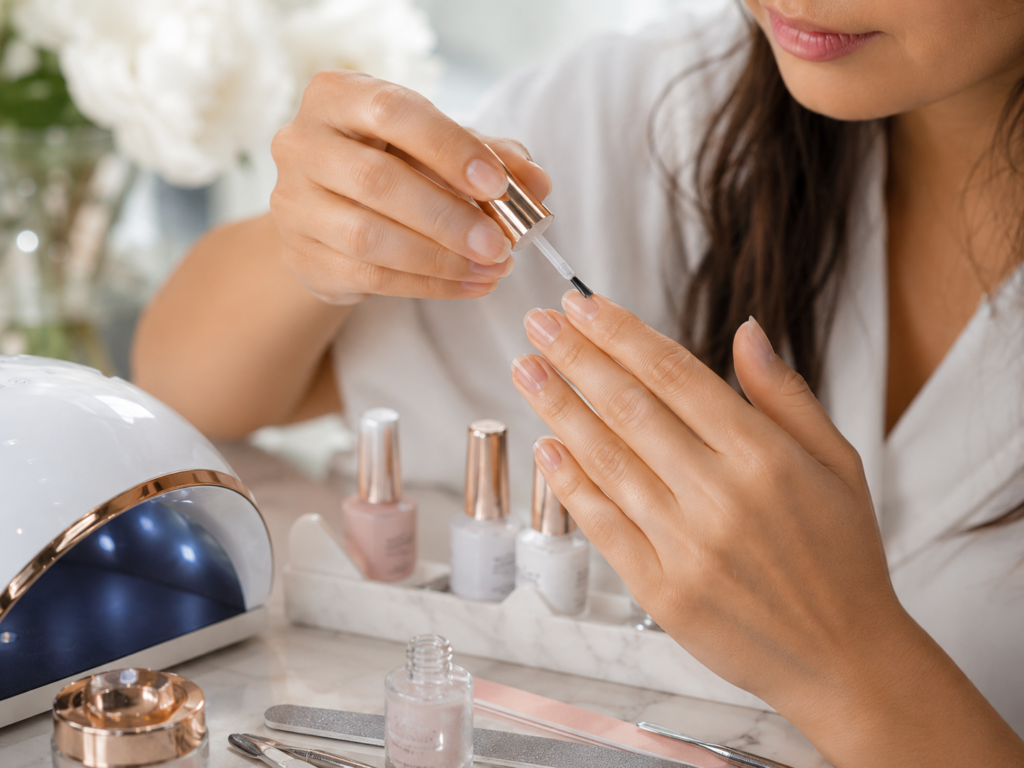
The base coat acts as the foundation of the manicure. A thin and even layer creates a smooth surface and helps the gel polish bond to the nail properly.
Why it helps:
- Improves adhesion
- Creates a smooth foundation
- Helps prevent lifting
Avoid applying thick layers. Thin coats cure more evenly and create a cleaner result.
Ask for a strengthening base coat if your nails are naturally weak.
7. Cure Properly Under the Lamp
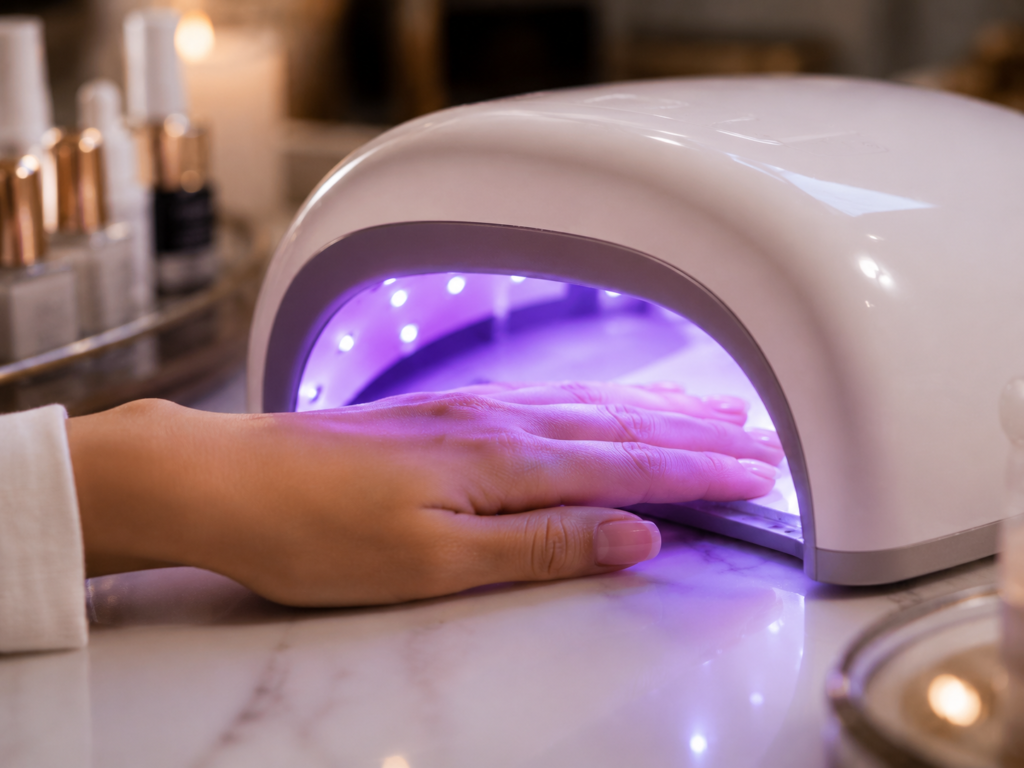
Curing is one of the most important parts of a gel manicure. The lamp hardens the gel and helps create the durable finish that gel polish is known for.
Why it helps:
- Hardens the polish
- Improves durability
- Creates a smooth finish
Follow the curing time recommended for your specific gel polish. Proper curing helps prevent peeling and uneven wear.
Try keeping your hand steady during the curing process.
8. Use Thin Color Layers
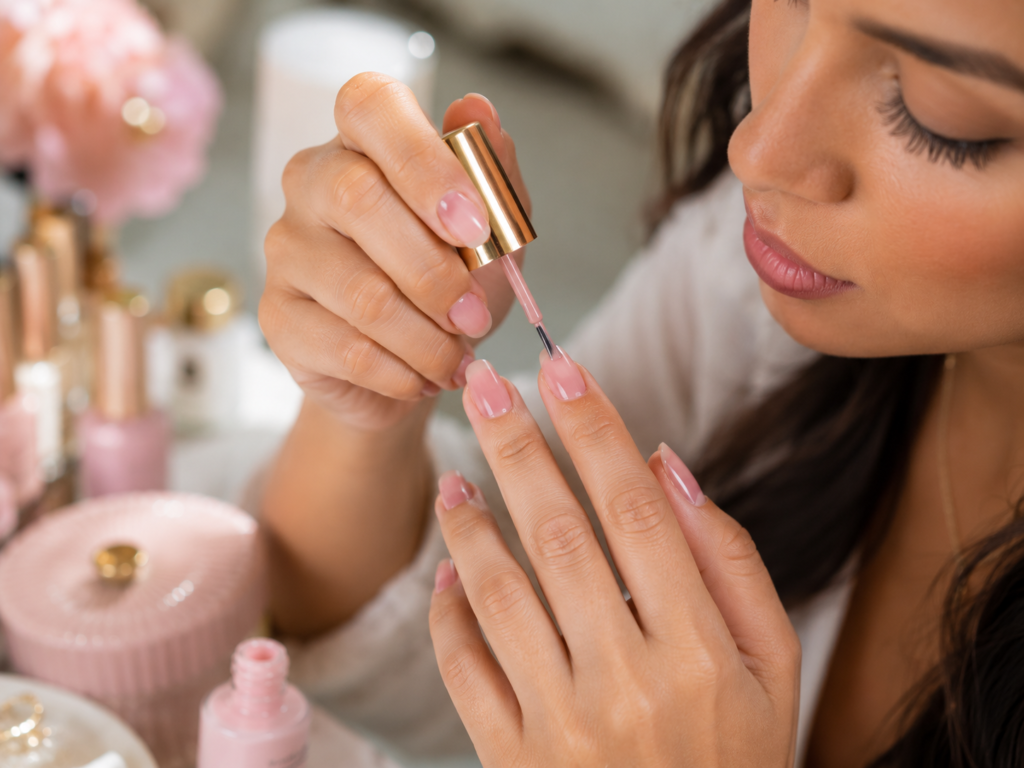
Applying several thin coats usually creates better results than one thick layer. Thin layers cure more evenly and help prevent wrinkling or uneven texture.
Why it helps:
- Creates smoother coverage
- Reduces bubbling
- Improves curing
Building color gradually creates a more professional finish. The final result often looks cleaner and more polished.
Pair thin coats with patience between each step.
9. Seal the Nail Edge
Sealing the edge means lightly brushing polish across the tip of the nail. This small detail helps protect the area that experiences the most daily wear.
Why it helps:
- Reduces chipping
- Protects nail tips
- Extends manicure life
The edge often comes into contact with keyboards, containers, and other objects. A sealed edge creates extra protection.
Try sealing the edge with both color and top coat.
10. Finish With a Quality Top Coat
The top coat protects the manicure and creates the signature glossy finish many people love. It acts like a protective shield over the color layers.
Why it helps:
- Adds shine
- Protects color
- Improves longevity
A smooth top coat helps the manicure look fresh and professional. It is one of the most important final steps.
Ask for a no-wipe top coat if you prefer a simpler finishing process.
11. Clean Up Edges Before Curing
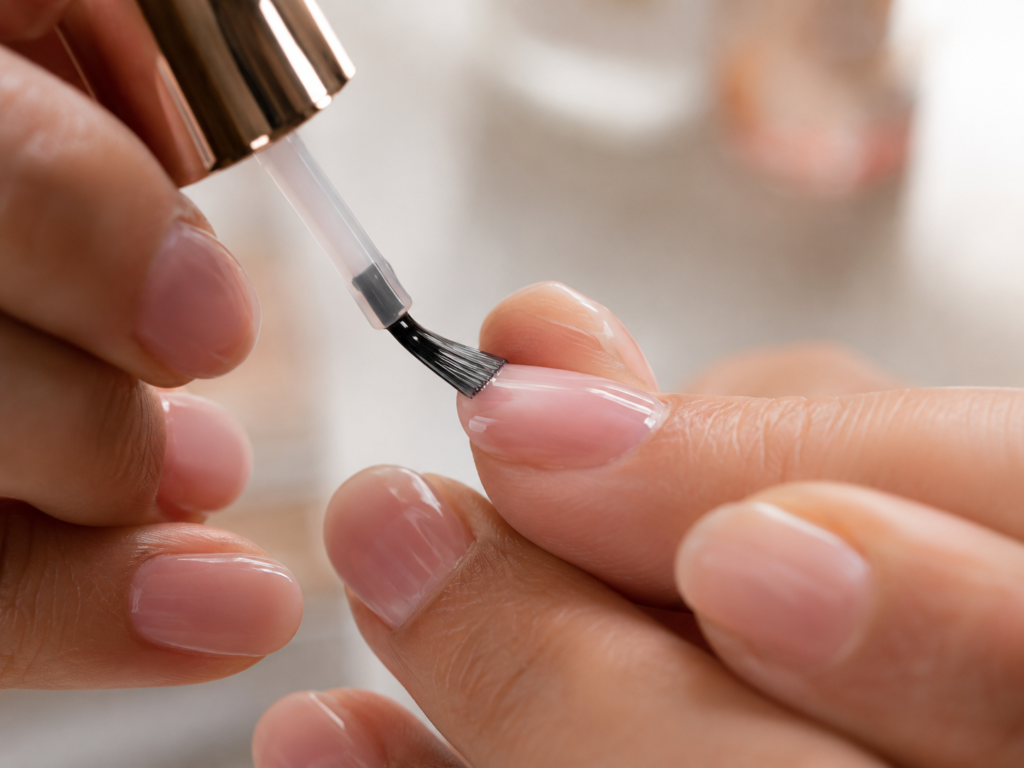
Neat edges can make a huge difference in the final appearance of your gel manicure. Before placing your nails under the lamp, check around the sides and cuticle area for extra polish. A small cleanup brush can help remove any polish that has touched the skin.
Why it helps:
- Creates a cleaner finish
- Improves overall appearance
- Helps prevent lifting
Taking a few extra moments before curing helps create a manicure that looks more professional. Small details often separate a good manicure from a great one and you can also try using a fine brush dipped in cleanser for precise cleanup.
12. Work One Thin Layer at a Time
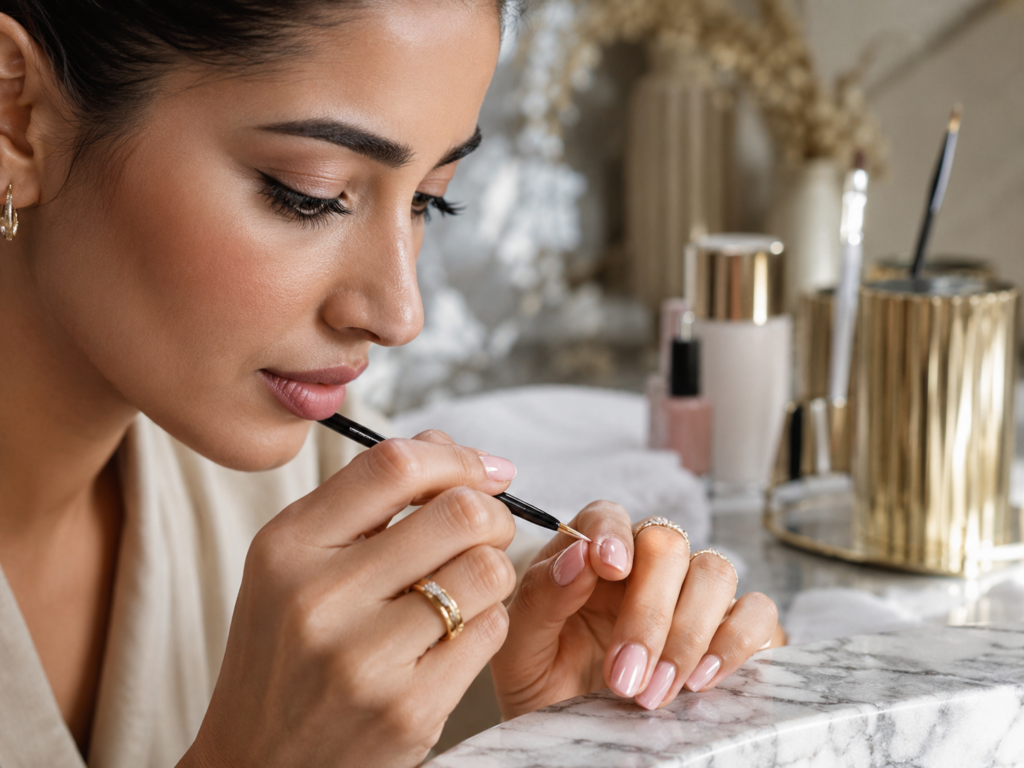
Rushing through multiple coats can create uneven results. Focusing on one thin layer at a time helps you build color gradually and maintain control throughout the process.
Why it helps:
- Creates smoother coverage
- Reduces application errors
- Supports even curing
Each layer should look neat before moving to the next step. This approach helps create a polished finish with fewer imperfections and try to Pair patience with good lighting for better visibility.
13. Choose the Right Gel Polish Color
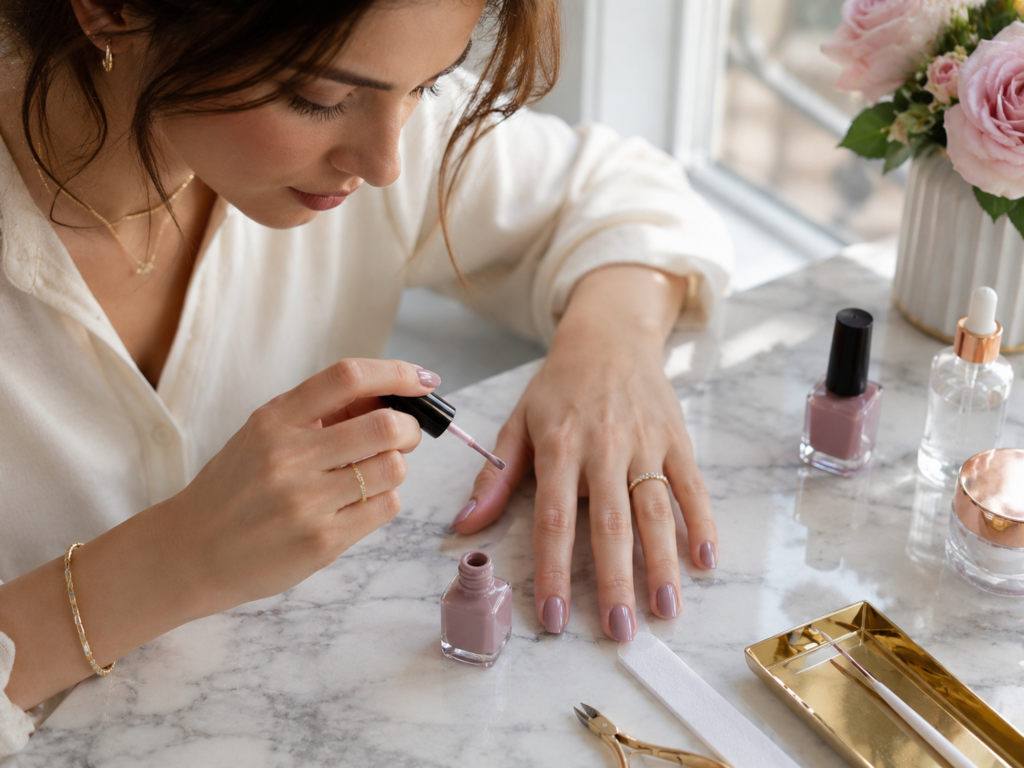
The color you choose can affect the overall appearance of your manicure. Soft neutrals create a clean and elegant look, while brighter shades make more of a statement. Selecting a color you truly enjoy helps make the manicure feel special.
Why it helps:
- Matches personal style
- Creates a polished look
- Adds confidence
Think about the season, your wardrobe, and your lifestyle when choosing a shade. The right color can make the manicure feel complete and try testing new shades on one nail before committing.
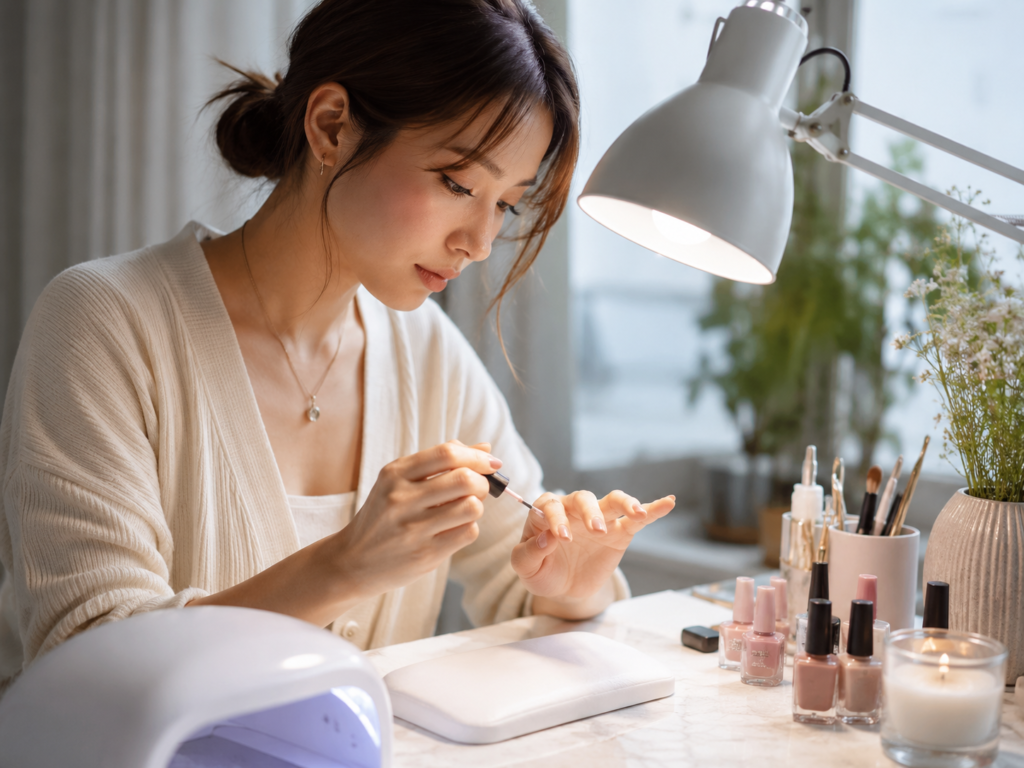
14. Use Good Lighting While Painting
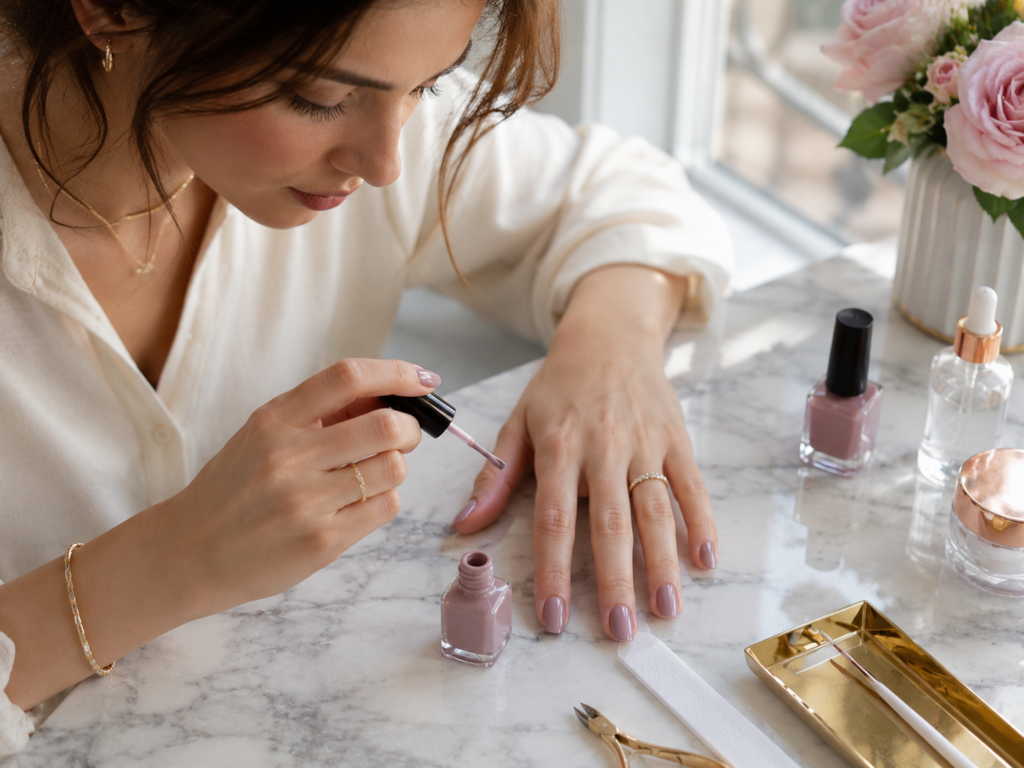
Strong lighting helps you see every detail clearly during application. Poor lighting can make it difficult to notice uneven polish, missed spots, or messy edges.
Why it helps:
- Improves precision
- Reduces mistakes
- Creates cleaner results
Natural daylight works beautifully, but a bright desk lamp can help as well. Better visibility often leads to a more polished manicure and along with that you can also ask for a manicure lamp if you paint your nails regularly.
15. Keep Your Hands Steady
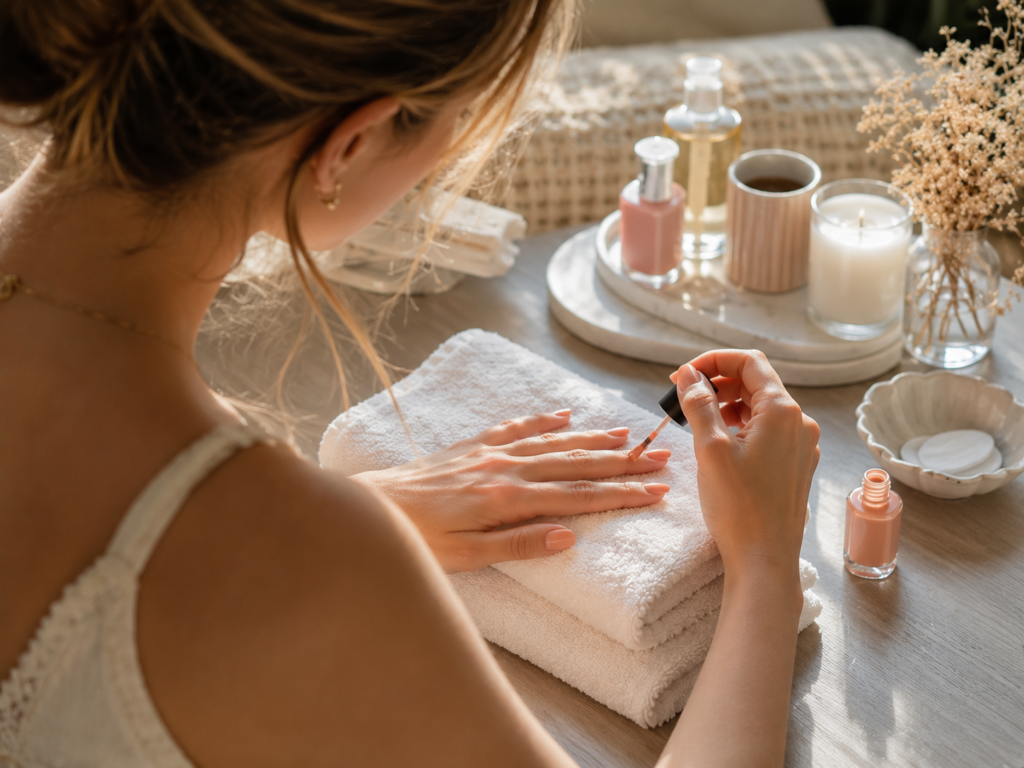
Steady hands help create smooth polish lines and even coverage. Finding a comfortable position before starting can make the entire process easier and more enjoyable.
Why it helps:
- Improves control
- Creates smoother application
- Reduces smudges
Resting your hand on a stable surface can help improve accuracy. Small adjustments in posture often make a noticeable difference and the best things that you can do is try placing a folded towel under your hand for support.
16. Cure Every Layer Fully
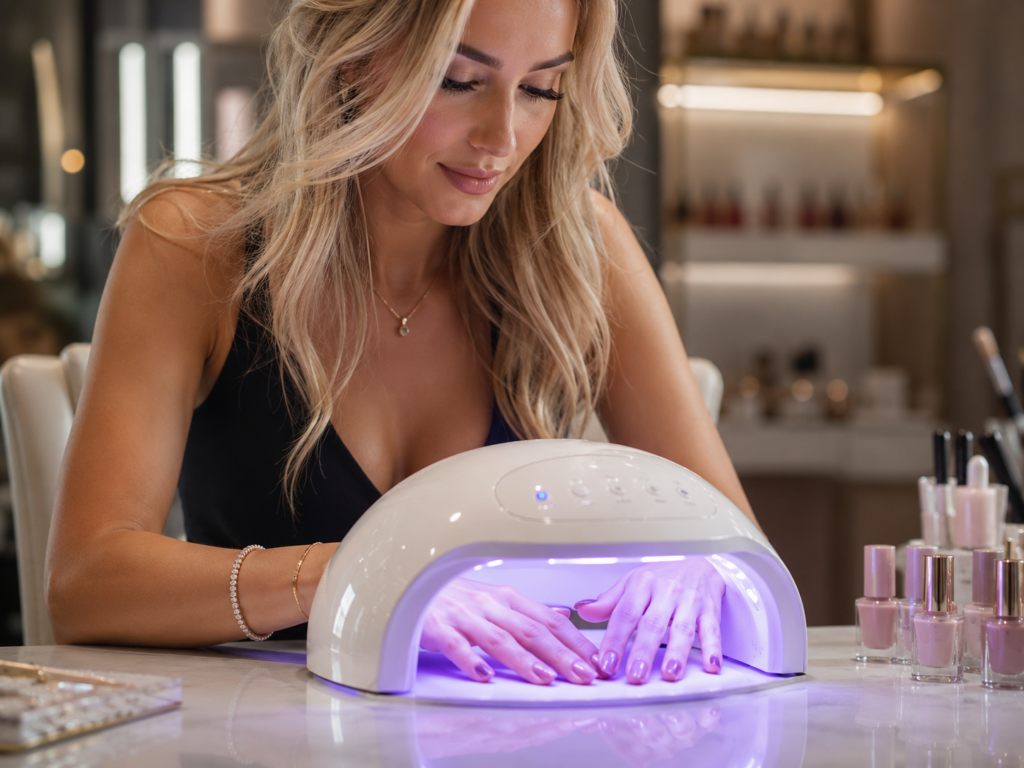
Each layer of gel polish needs proper curing before the next layer is applied. Skipping curing time or rushing through the process can affect durability and appearance.
Why it helps:
- Creates stronger layers
- Improves wear time
- Supports a smooth finish
Following the recommended curing time helps each layer set correctly. This creates a stronger and more reliable manicure and it best to pair proper curing with thin layers for the best results.
17. Avoid Touching Nails During Application
Fresh gel polish can attract dust, lint, and fingerprints if touched too soon. Keeping your hands away from your nails during the process helps preserve the smooth finish.
Why it helps:
- Prevents surface marks
- Maintains clean polish
- Protects the finish
Working carefully and avoiding unnecessary contact helps create a professional appearance. This simple habit can improve the final result and try keeping your workspace free from loose fabrics and dust.
18. Check Every Nail Before Finishing
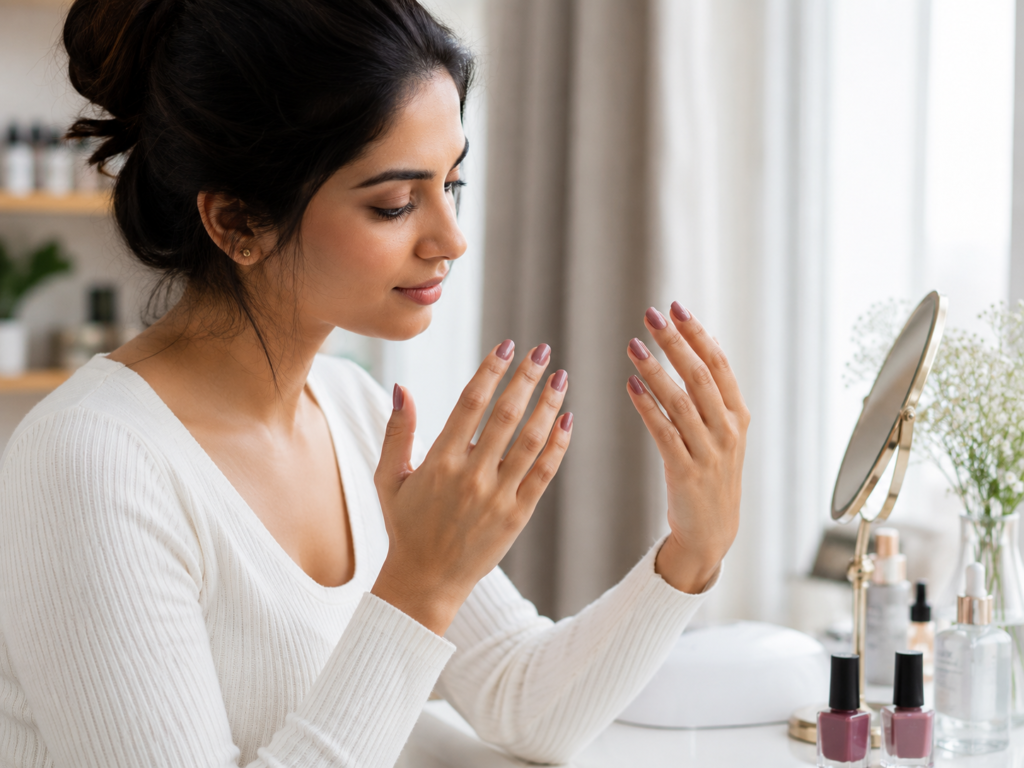
Before applying the final top coat, take a moment to inspect each nail closely. Small corrections are much easier to make before the manicure is complete.
Why it helps:
- Improves final appearance
- Helps catch small mistakes
- Creates consistency
Look for uneven spots, missed areas, or polish touching the skin. A quick inspection helps create a cleaner and more polished result.
Ask yourself if every nail looks balanced before moving on.
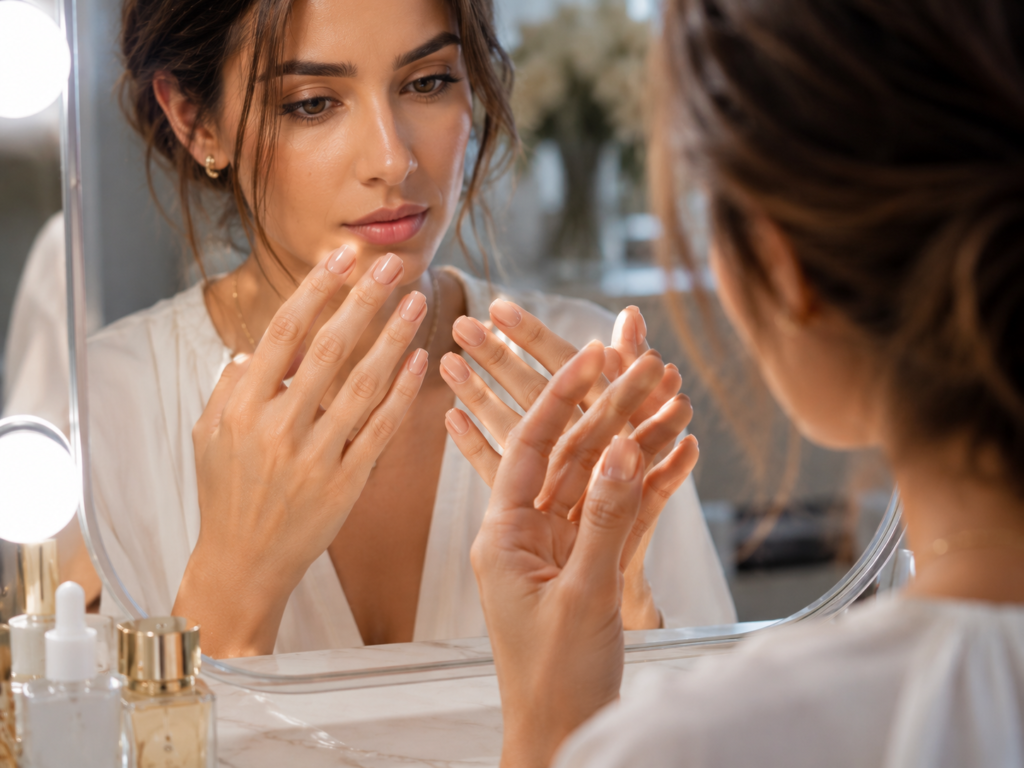
19. Add a Protective Top Layer
A protective top layer helps seal the entire manicure and creates extra durability. This final coat plays an important role in keeping the color looking fresh and glossy.
Why it helps:
- Protects the design
- Improves shine
- Supports longer wear
A smooth top coat can make even simple colors look more luxurious. It completes the manicure and helps maintain a fresh appearance and try floating the brush gently over the nail for a smoother finish.
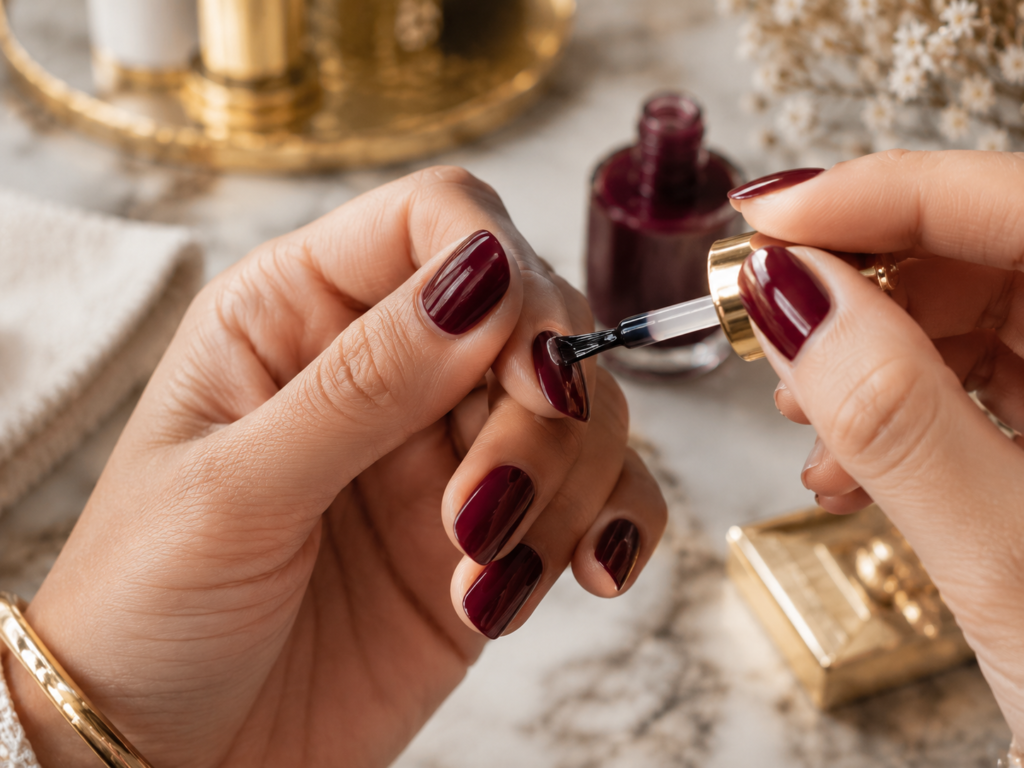
20. Let Nails Cool After Curing
Freshly cured gel polish can feel slightly warm. Giving your nails a few moments to cool helps protect the finish and allows everything to settle properly.
Why it helps:
- Protects the final layer
- Maintains shine
- Supports durability
Avoid touching or testing the nails immediately after curing. A little patience helps preserve the smooth and glossy surface and pair this step with a relaxing hand massage once the manicure is complete.
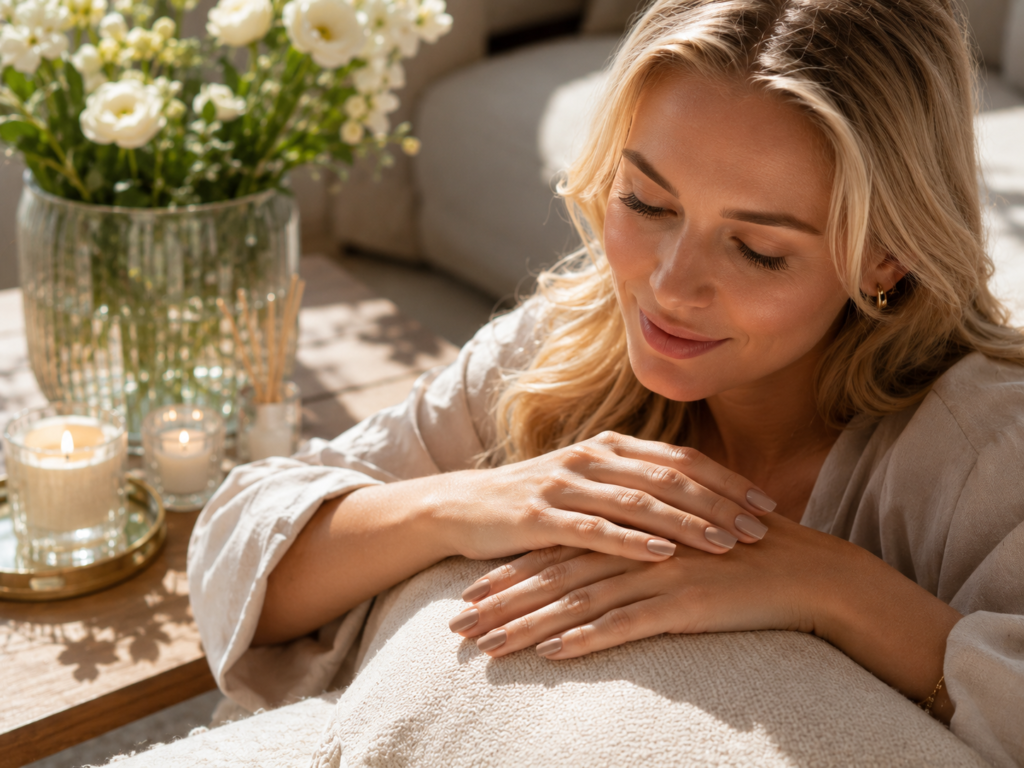
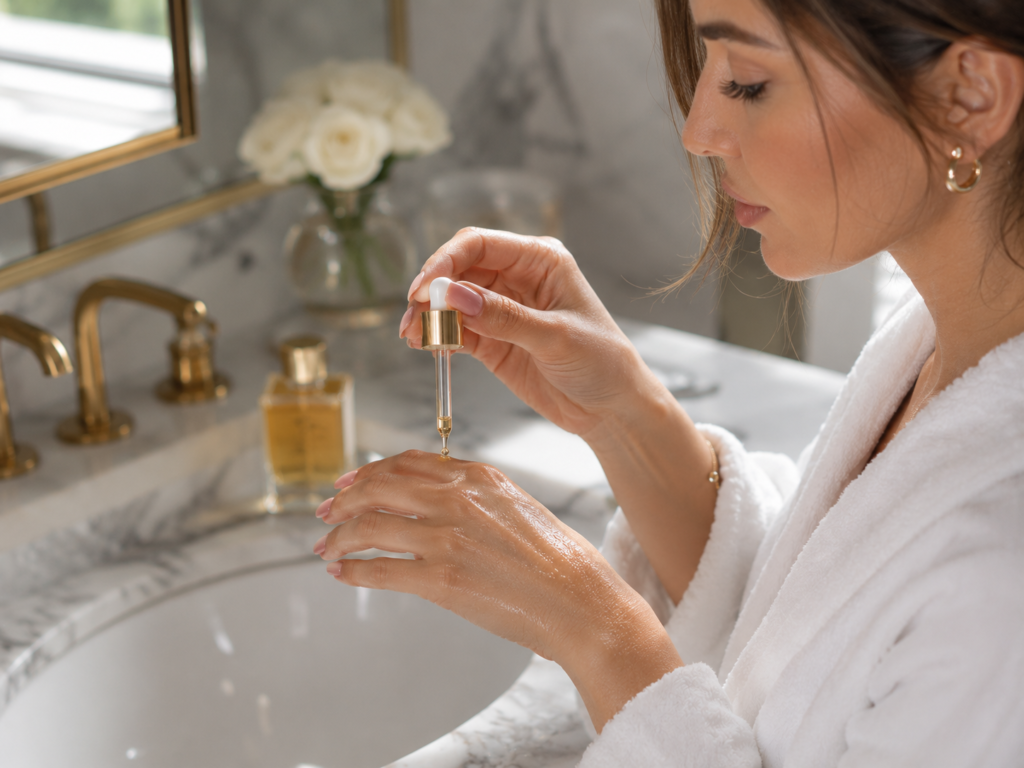
21. Moisturize Your Cuticles Daily
A beautiful gel manicure looks even better when the surrounding skin is healthy and hydrated. Dry cuticles can make even a fresh manicure appear less polished. Daily moisture helps maintain a neat and well-cared-for appearance.
Why it helps:
- Improves nail appearance
- Supports healthy nail growth
- Keeps cuticles soft
A small drop of cuticle oil massaged around each nail can make a noticeable difference. Consistent care helps your manicure continue looking fresh long after application and Try applying cuticle oil before bed each night.
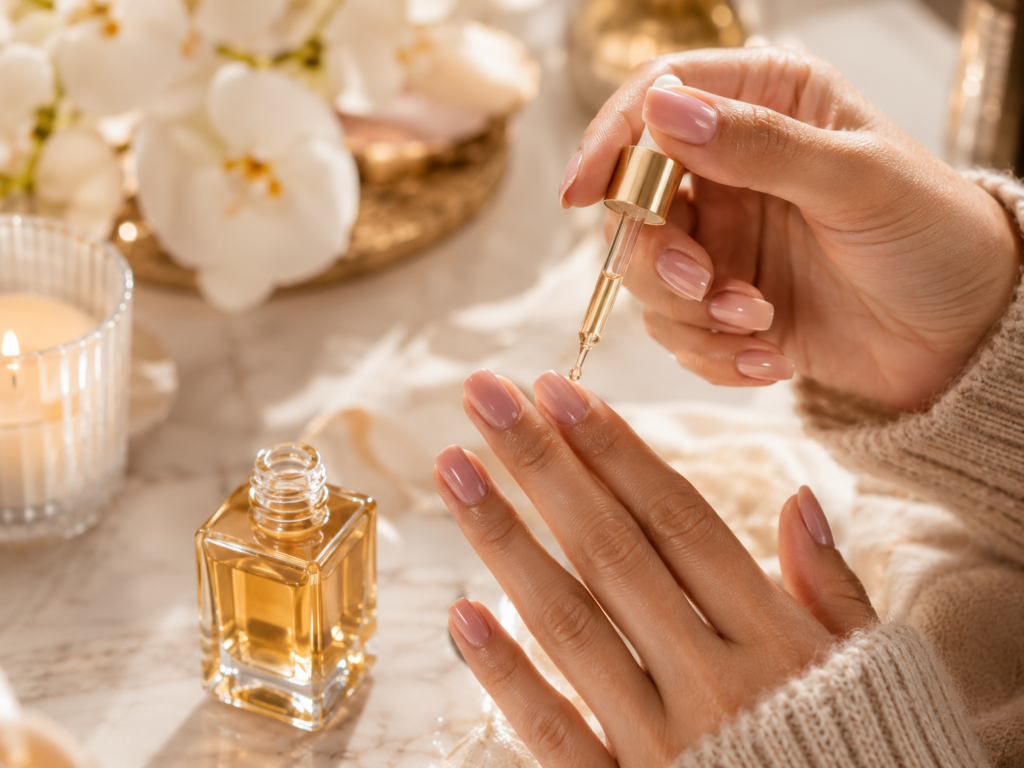
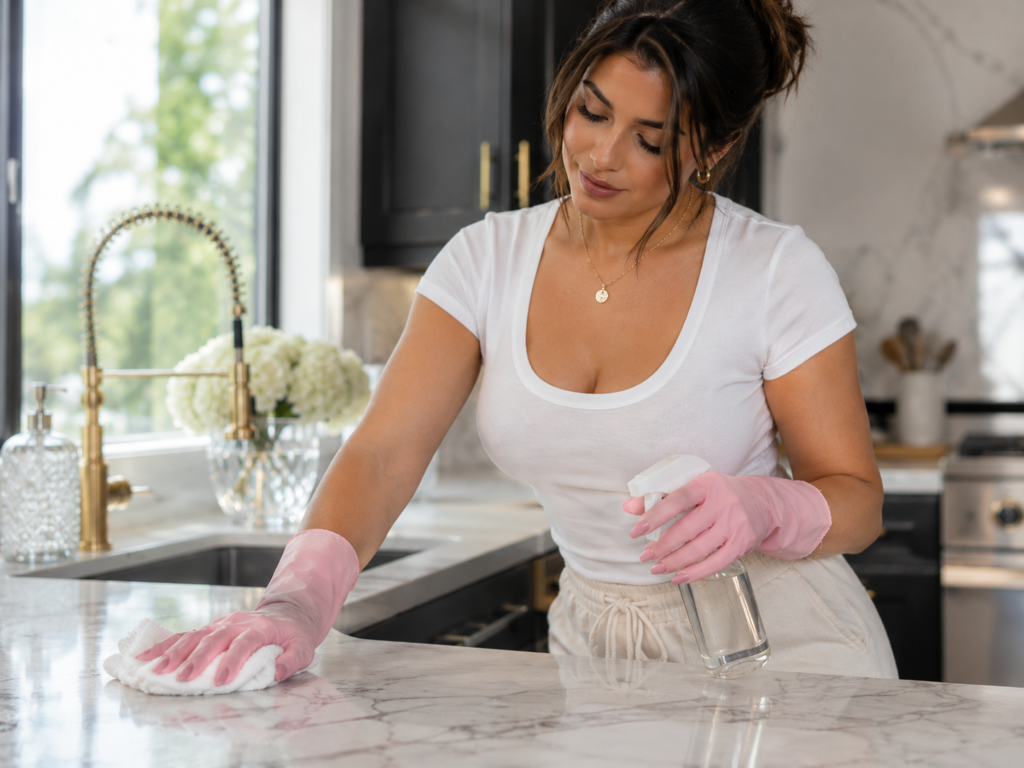
22. Protect Nails From Harsh Cleaning Products
Household cleaners can be tough on both your nails and your gel manicure. Frequent contact with strong cleaning products may reduce shine and affect the overall finish.
Why it helps:
- Preserves polish quality
- Protects nail health
- Extends manicure life
Wearing gloves during household tasks creates a simple protective barrier. This habit helps keep your manicure looking cleaner and newer for longer and pair this tip with regular hand moisturizing for added care.
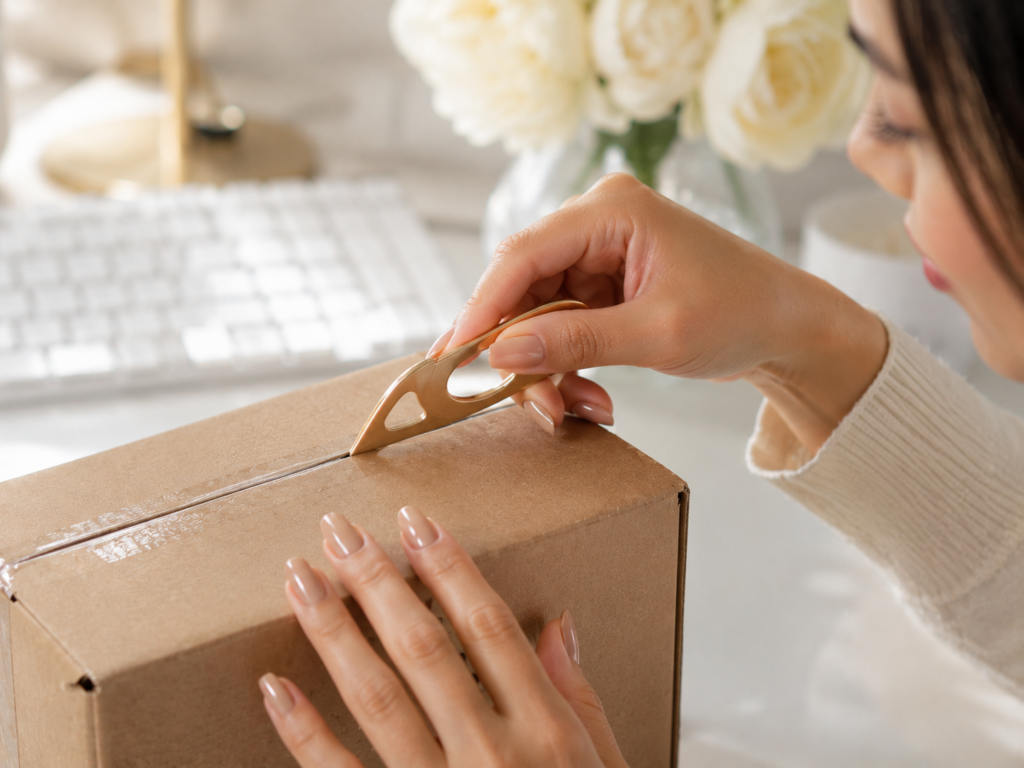
23. Avoid Using Nails as Tools
Opening packages, scraping labels, or lifting objects with your nails can place stress on the manicure. These activities often cause chips, lifting, or cracks.
Why it helps:
- Reduces damage
- Protects nail edges
- Maintains manicure integrity
Using proper tools instead of your nails helps preserve both the polish and the nail itself. Small habits can have a big impact on longevity and try keeping small tools nearby for everyday tasks.
24. Keep Nails at a Comfortable Length
A manageable nail length often makes at-home gel manicures easier to maintain. Extremely long nails can experience more daily pressure and are more likely to catch on objects.
Why it helps:
- Easier maintenance
- Less daily stress
- Improved durability
A comfortable length helps create balance between beauty and practicality. It can make everyday activities feel easier while protecting the manicure and Ask for a shape that fits your lifestyle and daily routine.

25. Reapply Cuticle Oil After Hand Washing
Frequent hand washing can remove natural moisture from the skin around the nails. Adding hydration back into your routine helps maintain a healthy and polished appearance.
Why it helps:
- Restores moisture
- Prevents dryness
- Keeps nails looking fresh
Healthy cuticles help frame the manicure beautifully. A quick application of oil can improve the overall appearance of your hands and also pair cuticle oil with a nourishing hand cream.
26. Store Gel Products Properly
Proper storage helps maintain the quality of your gel products. Heat, direct sunlight, and extreme temperatures can affect performance and consistency.
Why it helps:
- Preserves product quality
- Supports smooth application
- Improves long-term performance
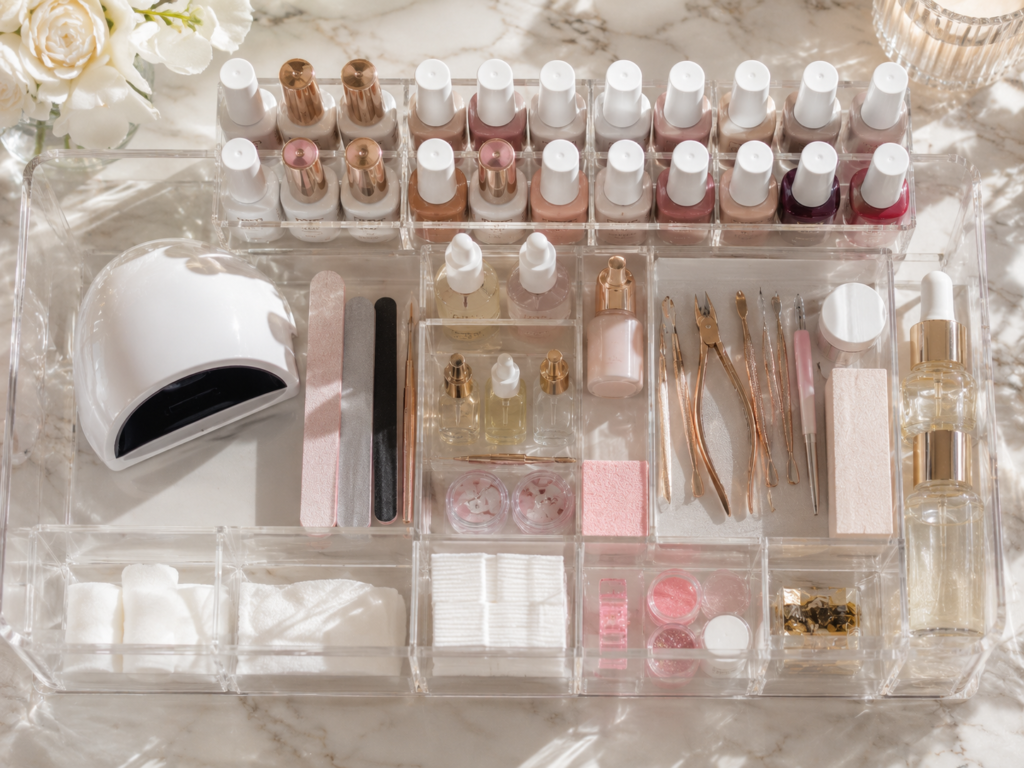
A cool, dry storage area helps keep products in good condition. Well-maintained products often provide more reliable results and also try organizing supplies in a dedicated manicure box.
27. Practice Consistent Application Techniques
Every manicure helps build confidence and skill. Practicing the same careful techniques each time can improve the quality of your results over time.
Why it helps:
- Builds confidence
- Improves precision
- Creates consistent results
Small improvements often add up quickly. The more familiar you become with the process, the easier it becomes to achieve a salon-like finish and try taking photos of your manicures to track progress.
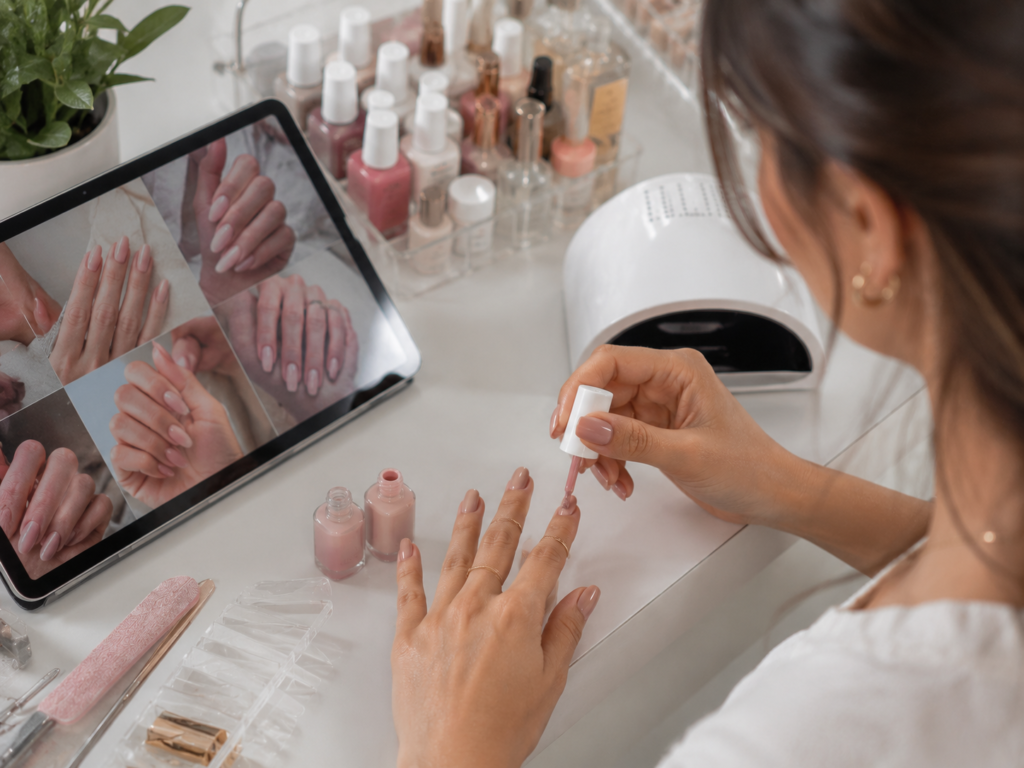
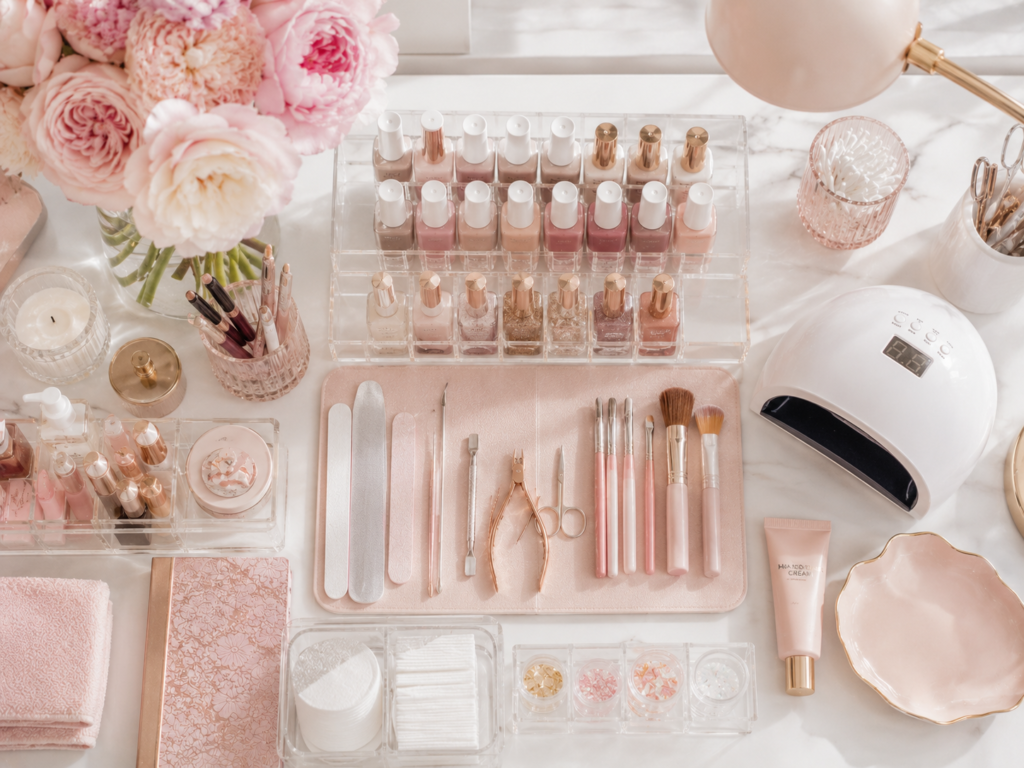
28. Keep Your Workspace Organized
An organized manicure area helps reduce distractions and makes the process more enjoyable. Having supplies arranged neatly allows you to focus on creating clean results.
Why it helps:
- Improves efficiency
- Reduces mistakes
- Creates a relaxing experience
A tidy workspace supports better concentration and helps everything feel more professional. It can make your manicure routine more enjoyable from start to finish and ask for a storage tray if you have many nail products.
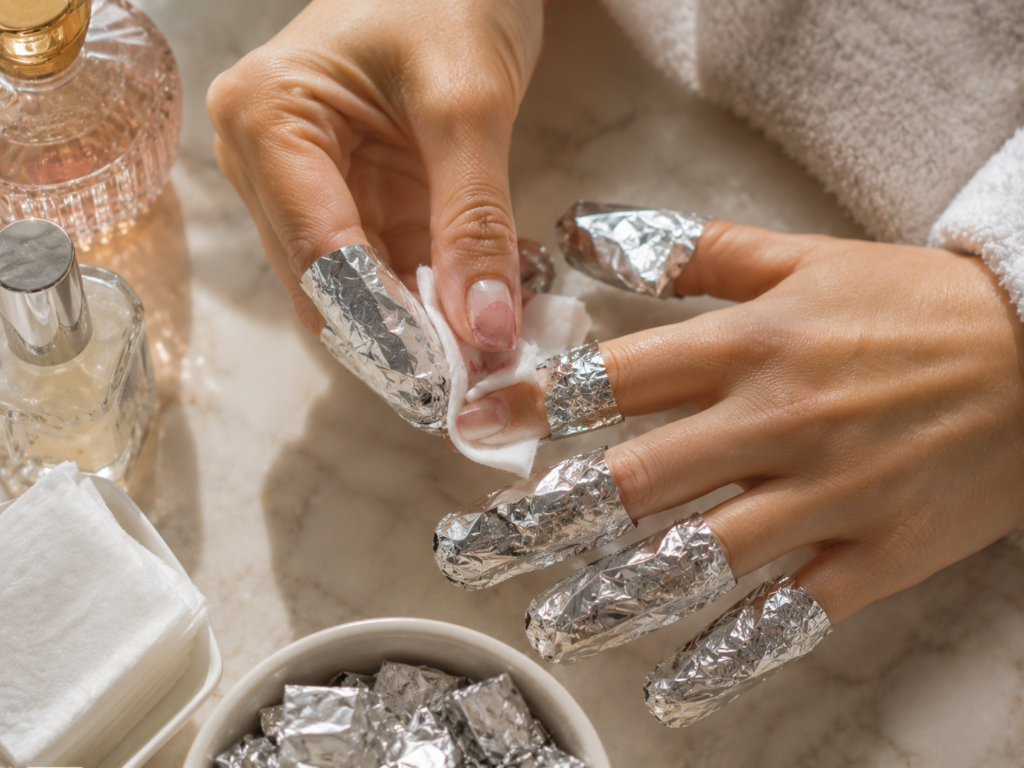
29. Remove Gel Polish Carefully
Proper removal is just as important as proper application. Removing gel polish gently helps protect the natural nail and keeps it healthy for future manicures.
Why it helps:
- Protects nail health
- Prevents unnecessary damage
- Supports stronger nails
Taking your time during removal helps maintain a smooth nail surface. Healthy nails provide a better foundation for future gel manicures.
Try following recommended removal steps rather than peeling off polish.
30. Enjoy the Process and Take Your Time
One of the biggest secrets to achieving the perfect at home gel manicure is simply slowing down. Rushing often leads to mistakes, uneven polish, and frustration. Taking your time helps every step feel more controlled.
Why it helps:
- Improves overall quality
- Reduces errors
- Makes the experience more enjoyable
A calm and patient approach often produces the best results. The process becomes part of your self-care routine rather than just another task and try setting aside uninterrupted time for your manicure session.
Frequently Asked Questions
How do I achieve the perfect at home gel manicure?
Start with clean nails, use thin layers, cure properly, and finish with a quality top coat.
What do I need for a gel manicure at home?
You typically need gel polish, a base coat, a top coat, a UV or LED lamp, nail files, and lint-free wipes.
Why does my gel polish peel off quickly?
Peeling can happen if the nail surface is not prepared properly or if layers are applied too thickly.
How long should an at-home gel manicure last?
A well-applied gel manicure can often last two weeks or longer with proper care.
Can beginners do gel nails at home?
Yes. Many beginners achieve beautiful results by following simple steps and practicing regularly.
Why are thin layers important for gel polish?
Thin layers cure more evenly and help create a smoother and longer-lasting finish.
How can I make my gel manicure look more professional?
Focus on clean cuticle work, thin coats, proper curing, and careful finishing details.
What is the biggest mistake people make with gel nails?
One common mistake is rushing through the process and not allowing each layer to cure properly.
Wrap Up
Learning how to achieve the perfect at home gel manicure takes practice, patience, and attention to small details. The good news is that each manicure helps you build more confidence and improve your technique.
From preparing the nails properly to protecting your finished manicure, every step contributes to a smoother and more professional result.
Small habits such as using cuticle oil, applying thin layers, and curing correctly can make a big difference.
The most beautiful manicures often come from consistency rather than perfection. Save your favorite tips, create a comfortable nail routine, and enjoy the process of caring for your nails at home. With time and practice, achieving salon-fresh results can become part of your regular self-care routine.