
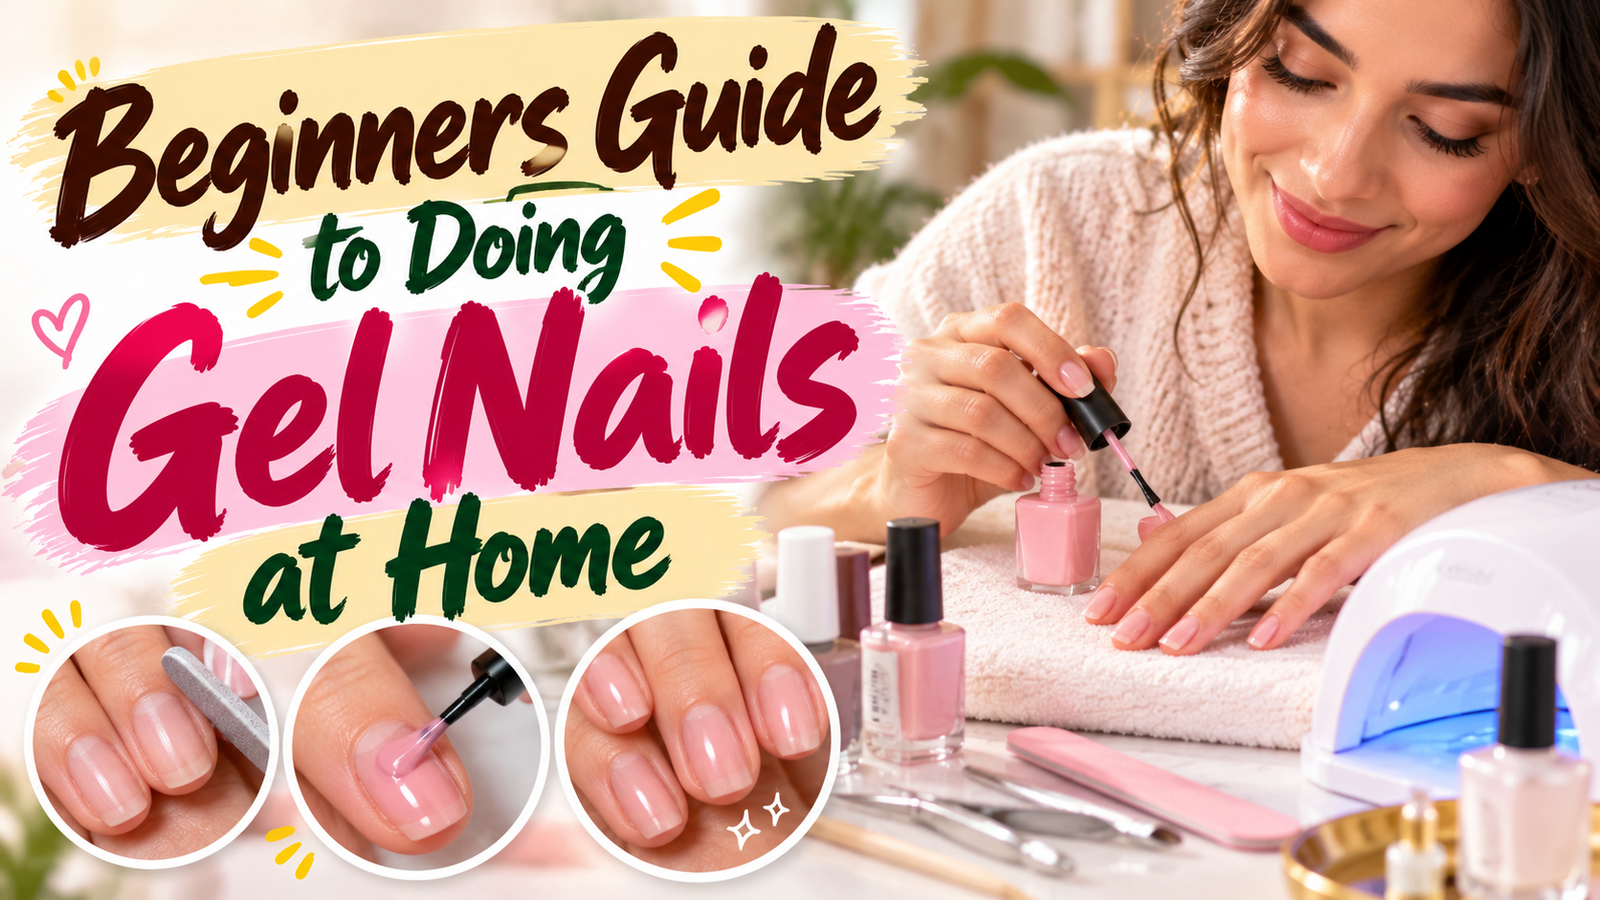
Doing gel nails at home can be a fun way to create a glossy, polished manicure without visiting a salon. With the right tools and simple techniques, beginners can learn how to prepare their nails, apply gel polish, and maintain a neat finish.
You do not need advanced nail skills to get started. The key is to work carefully, apply thin layers, follow product instructions, and protect your natural nails during removal. A little practice can help you become more confident with each manicure.
In this article, we have covered 23 beginner friendly gel nail tips, tools, and techniques to help you create a beautiful at home manicure.
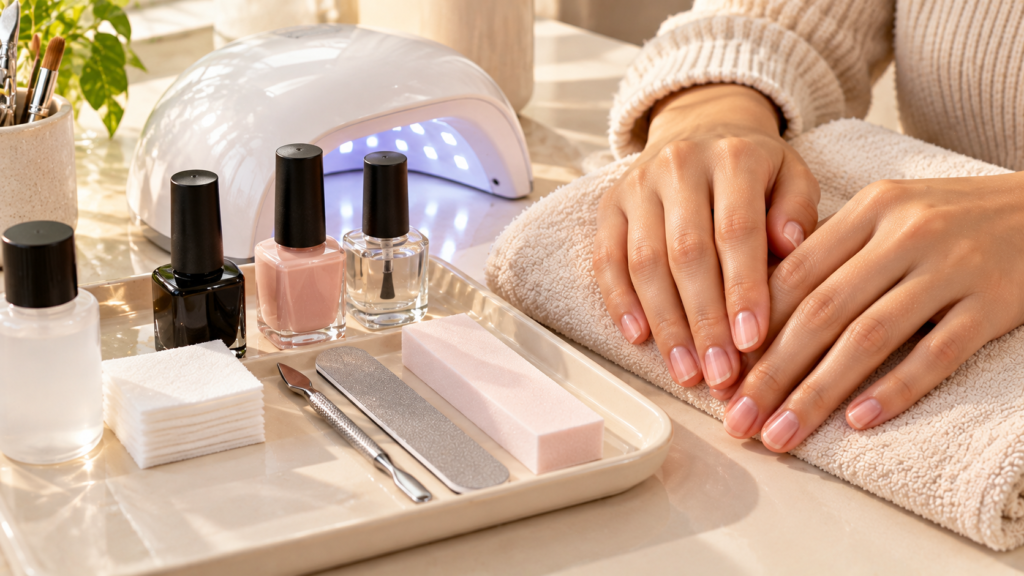
1. Create a Clean Nail Workspace
A clean, organized workspace makes doing gel nails at home easier. Good lighting helps you see small details, while keeping your supplies nearby reduces interruptions during application.
Prepare your nail station with these essentials:
- Gel base coat, color, and top coat.
- Compatible UV or LED nail lamp.
- Nail file and buffer.
- Cuticle pusher.
- Lint free wipes.
Place your supplies on a clean, stable surface before starting. Keep gel products away from direct sunlight and avoid letting uncured gel touch your skin.
2. Start With Clean, Dry Hands
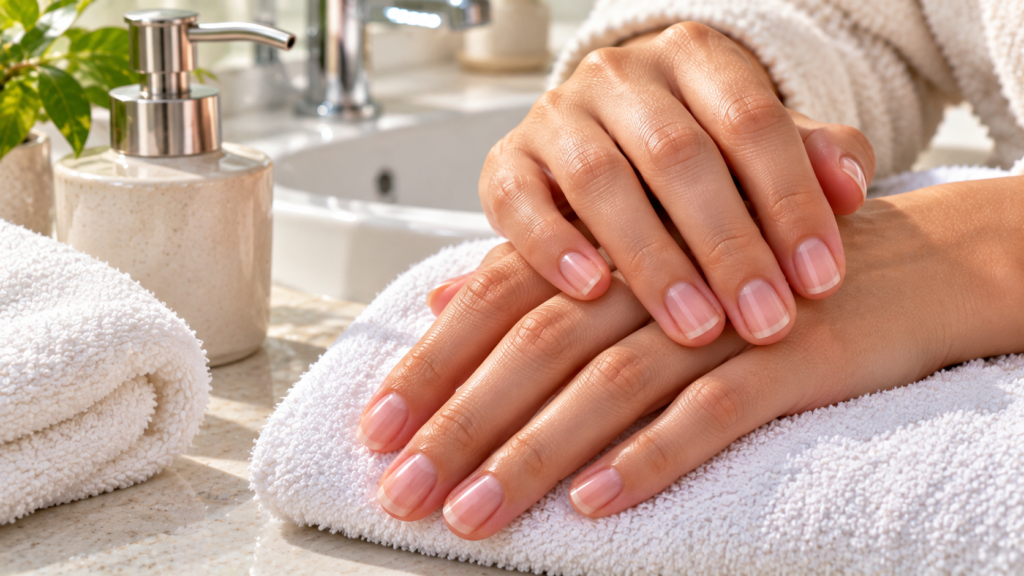
Clean hands help create a better foundation for gel polish. Dirt, oil, and leftover products can interfere with application, so prepare your nails before opening your gel polish.
Follow these simple steps:
- Wash your hands with mild soap.
- Dry your hands and nails completely.
- Remove any old nail polish.
- Check your nails for damage.
- Avoid applying hand cream immediately before preparation.
Clean, dry nails make it easier to work neatly. If you use a nail cleanser, follow the instructions provided by your gel polish brand.
3. Shape Nails Before Applying Gel
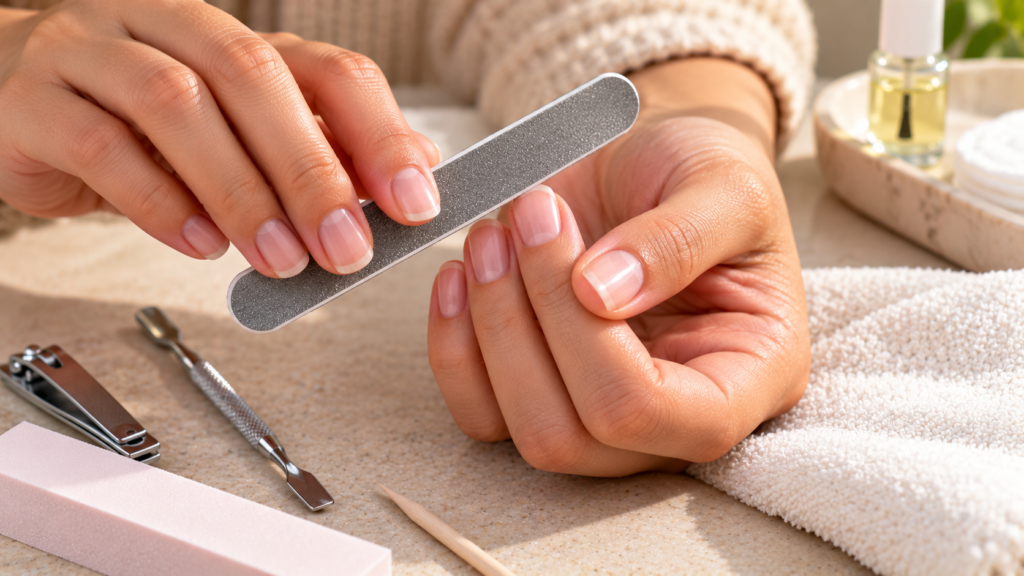
Shaping your nails before applying gel polish helps create a neat and balanced manicure. Even lengths and smooth edges also make the final result look more polished.
For a beginner friendly nail shape:
- Trim nails to a comfortable length.
- Choose a rounded or soft square shape.
- File rough edges gently.
- Make both hands look balanced.
- Remove loose dust before continuing.
You do not need long nails to create a beautiful gel manicure. Start with a shape that feels comfortable for your daily activities and is easy to maintain.
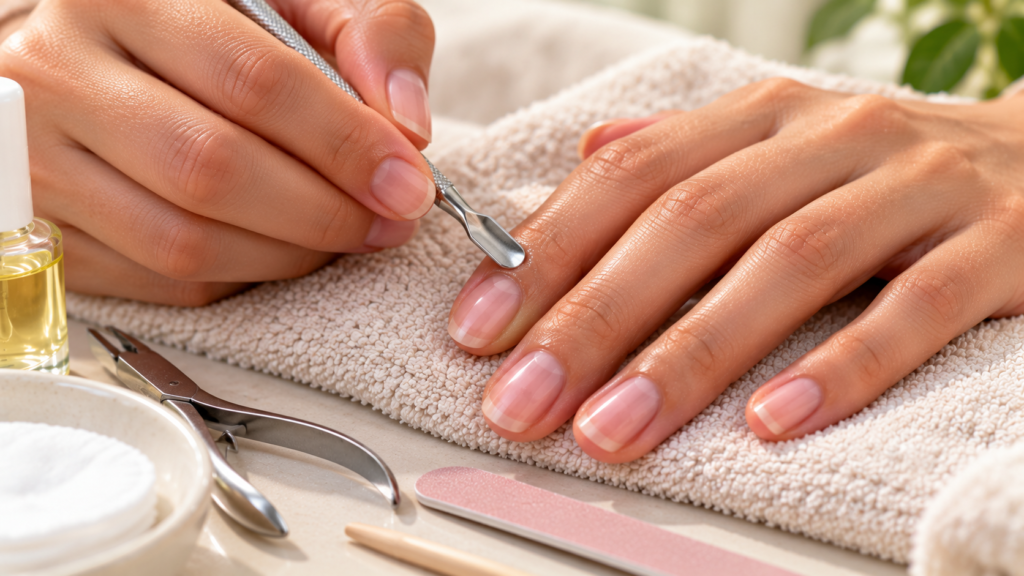
4. Gently Push Back Cuticles
Gently pushing back the cuticles can help create a clean area around the nail plate. However, aggressive cuticle cutting or scraping can damage the surrounding skin.
Prepare your cuticles carefully by following these steps:
- Soften the area as directed by your chosen product.
- Use a clean cuticle pusher.
- Apply light pressure.
- Avoid cutting living skin.
- Stop if you feel pain or notice irritation.
The goal is to tidy the nail area without causing injury. Avoid getting gel polish on your cuticles because contact with uncured gel can increase the risk of skin irritation or allergy.
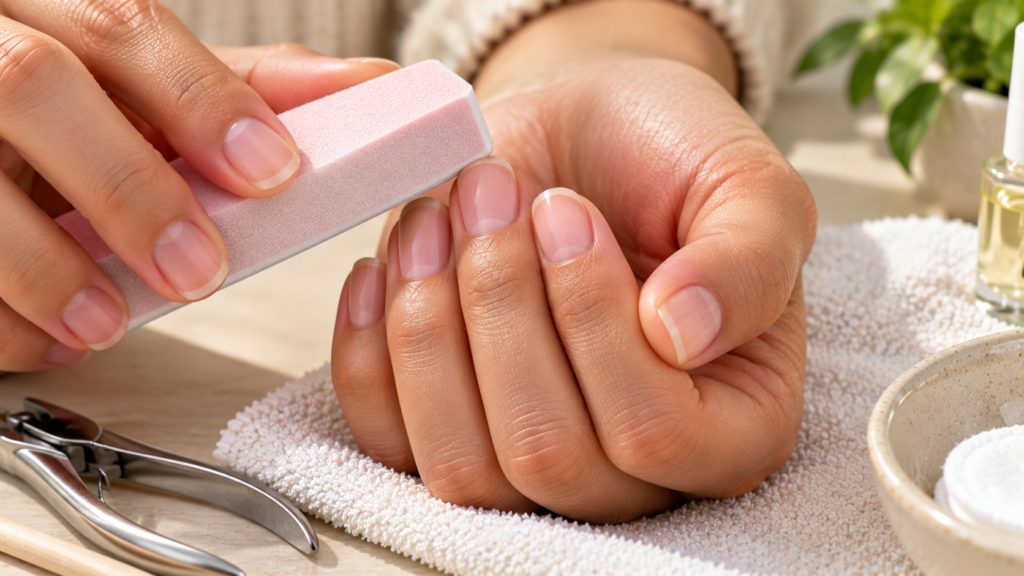
5. Lightly Buff the Nail Surface
Light buffing may help prepare the nail surface for certain gel systems. However, excessive buffing can thin your natural nails and make them more vulnerable to damage.
Keep this step gentle by following these tips:
- Use a buffer suitable for natural nails.
- Follow your gel brand’s preparation instructions.
- Avoid pressing too hard.
- Do not repeatedly buff the same area.
- Stop if your nails become sensitive.
Not every gel system requires the same preparation. Follow the product instructions rather than assuming that heavy buffing will make your manicure last longer.
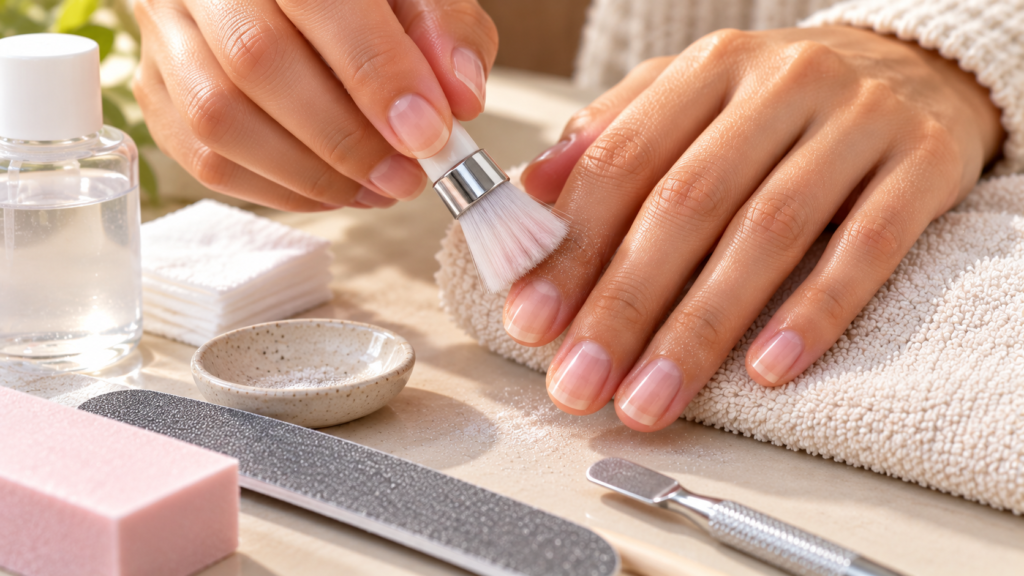
6. Remove Dust Before Application
Filing and buffing can leave fine dust on your nails. Removing this dust helps create a clean surface before you apply your gel products.
Prepare your nails with these simple steps:
- Brush away loose nail dust.
- Use a suitable lint free wipe.
- Apply nail cleanser if required.
- Check that no dust remains around the edges.
- Let the nail surface dry as directed.
Avoid touching the prepared nail surface with your fingers. Keeping it clean helps you work more precisely and reduces the chance of dust becoming trapped in your manicure.
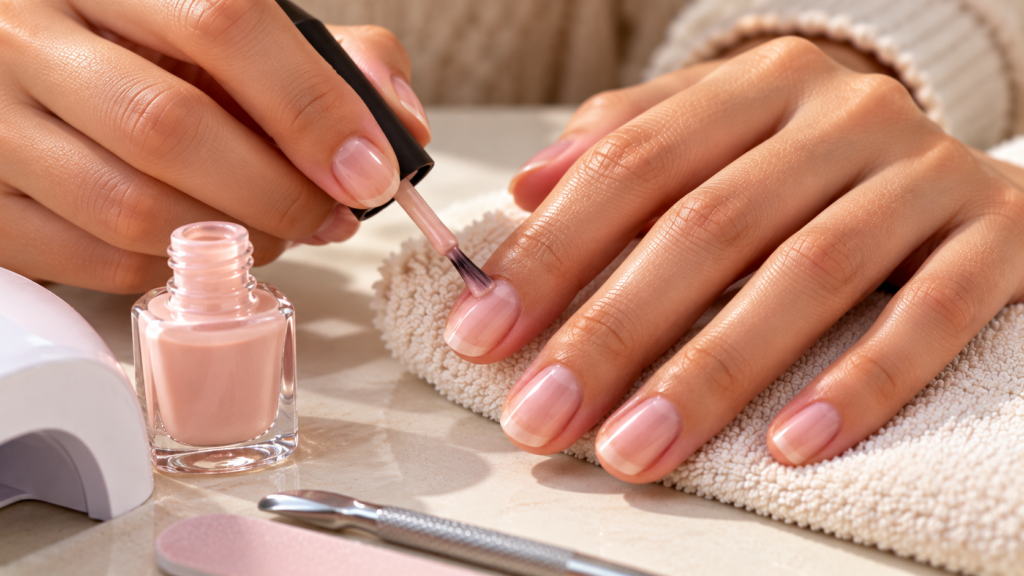
7. Apply Thin Gel Polish Layers
Applying thick gel polish layers is a common beginner mistake. Thick layers may cure unevenly, which can affect the finish and leave uncured product beneath the surface.
For a smoother application:
- Use a small amount of gel polish.
- Spread it in a thin, even layer.
- Keep the product away from your skin.
- Cure it according to the instructions.
- Add another thin layer if needed.
Thin coats are easier to control and help create a more even finish. Never assume that a thick layer is fully cured just because the surface looks dry.
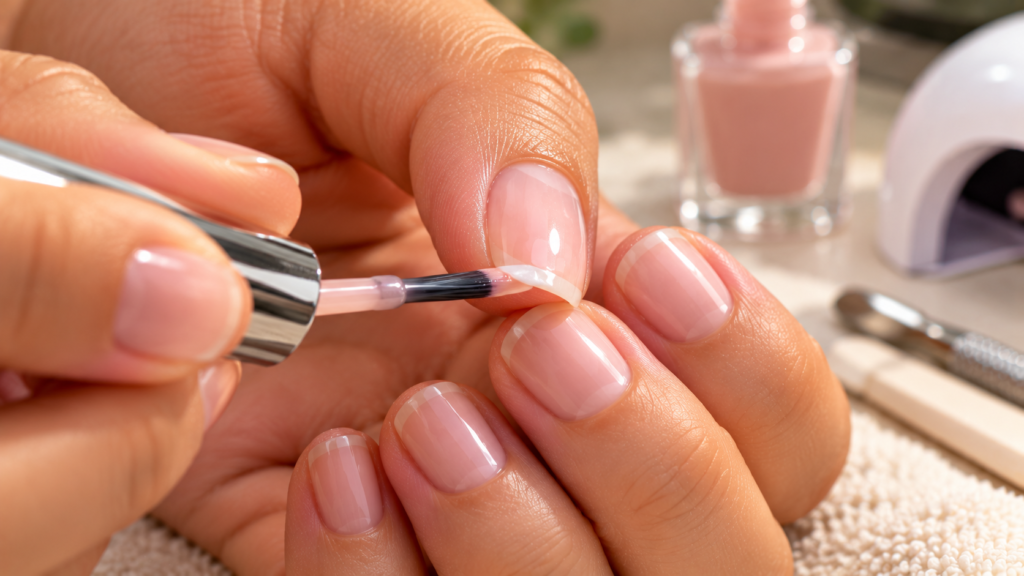
8. Seal the Nail Edges
Sealing the free edge means applying a small amount of polish across the tip of the nail. When your gel system recommends this technique, it may help reduce premature chipping.
Use this technique carefully:
- Apply a thin layer of product.
- Lightly brush across the nail tip.
- Avoid creating a thick buildup.
- Keep the product off your skin.
- Cure the layer as directed.
Sealing the edges is a small detail that may improve the durability of your manicure. Combine it with proper preparation and thin coats for a neater finish.
9. Cure Each Layer Properly
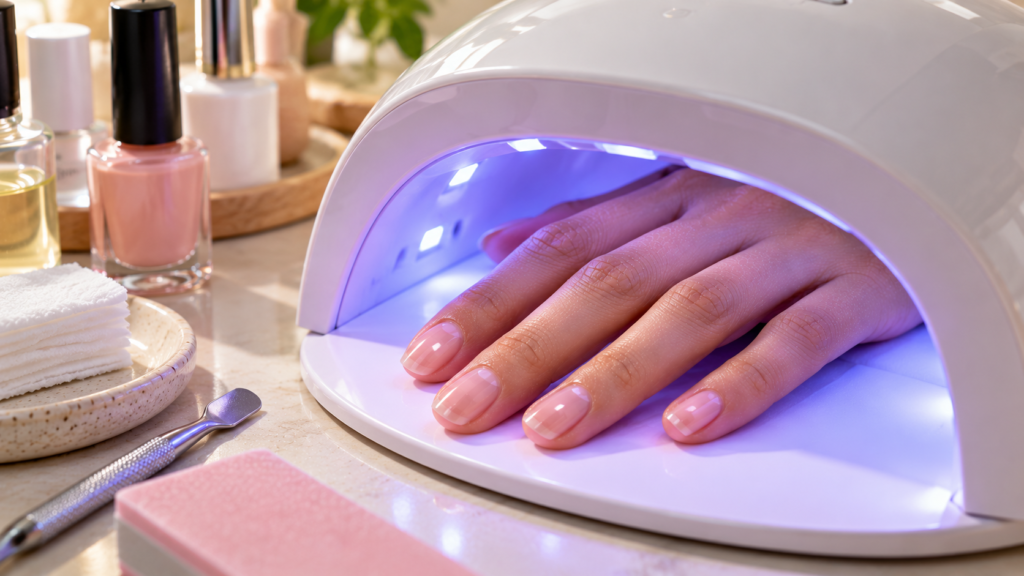
Proper curing is one of the most important steps in a gel manicure. Gel polish needs the correct lamp, curing time, and application thickness to harden as intended.
For better curing results:
- Use a lamp compatible with your gel system.
- Follow the manufacturer’s curing time.
- Apply thin layers.
- Position your fingers correctly inside the lamp.
- Avoid curing gel that has touched your skin.
A glossy or firm surface does not always mean the gel underneath is fully cured. Do not shorten curing times or use an incompatible lamp, as improperly cured gel can increase the risk of skin allergies.
10. Finish With a Quality Top Coat
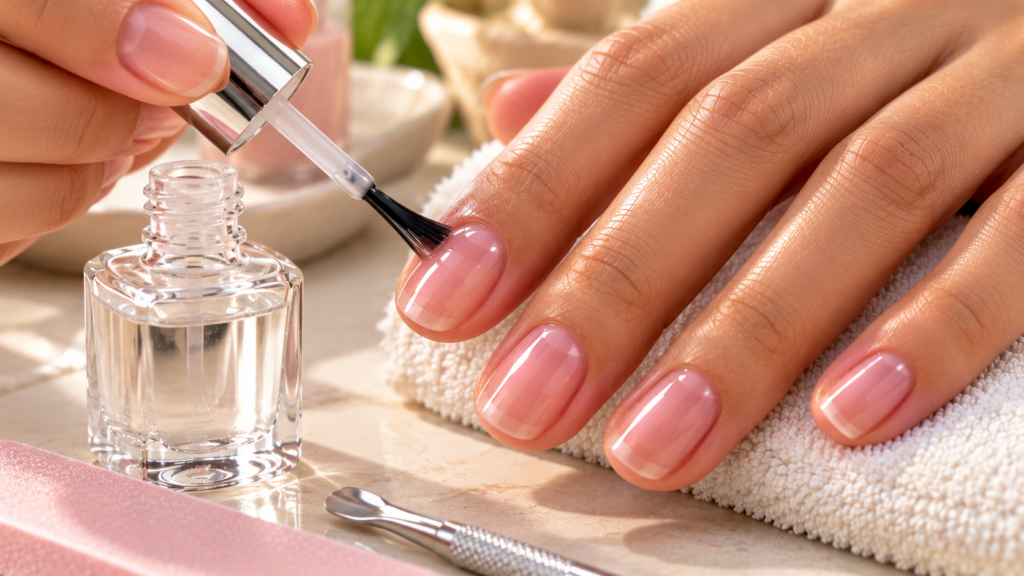
A gel top coat adds shine and helps protect the color underneath. It can also create a smoother finish that makes your manicure look more complete.
Apply your top coat with these steps:
- Choose a top coat compatible with your gel system.
- Spread a thin, even layer.
- Cover the nail surface neatly.
- Seal the free edge if directed.
- Cure it according to the instructions.
Some top coats leave a sticky layer after curing, while others do not. Follow the product directions before touching or cleaning the finished surface.
11. Keep Gel Polish Away From Cuticles
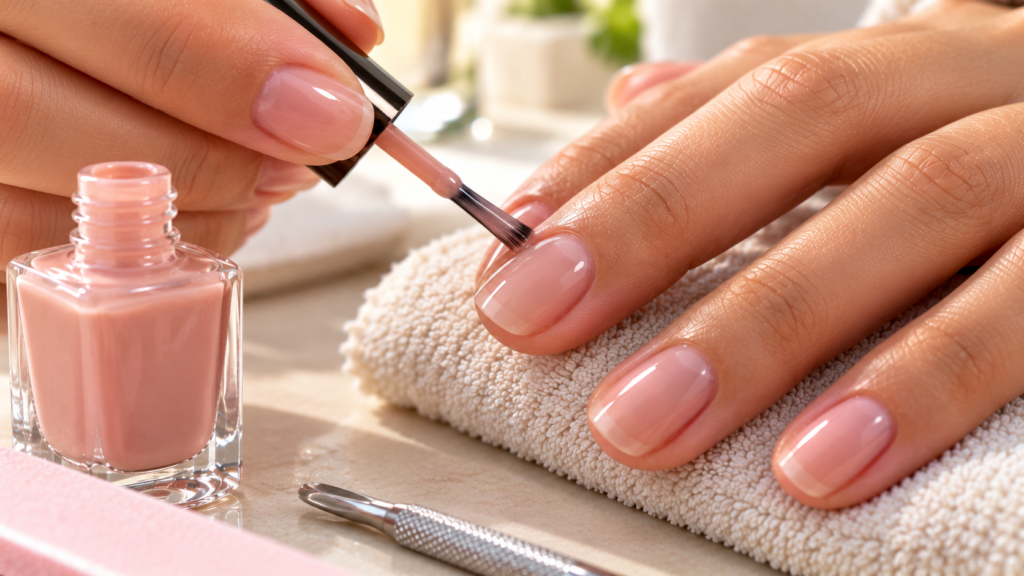
Keeping gel polish away from the cuticles helps create a cleaner manicure. Product that touches the surrounding skin can also expose you to uncured gel, which may cause irritation or an allergic reaction.
Avoid this common mistake by following these tips:
- Leave a small gap around the skin.
- Apply polish slowly near the edges.
- Use a small detail brush for precision.
- Clean up mistakes before curing.
- Never cure gel while it is touching your skin.
Neat application takes practice, so do not rush this step. If gel repeatedly floods the cuticles, use less product and work in smaller sections.
12. Work on One Hand at a Time
Working on one hand at a time can make gel application easier for beginners. It helps you focus on neat placement before moving your hand into the lamp for curing.
This approach can help you achieve:
- Better control.
- Fewer accidental smudges.
- More even polish placement.
- Easier access to each nail.
- A less stressful routine.
Apply and cure the layers according to your product instructions. Taking your time is more important than finishing both hands quickly, especially when you are still learning the technique.
13. Choose Beginner Friendly Gel Colors
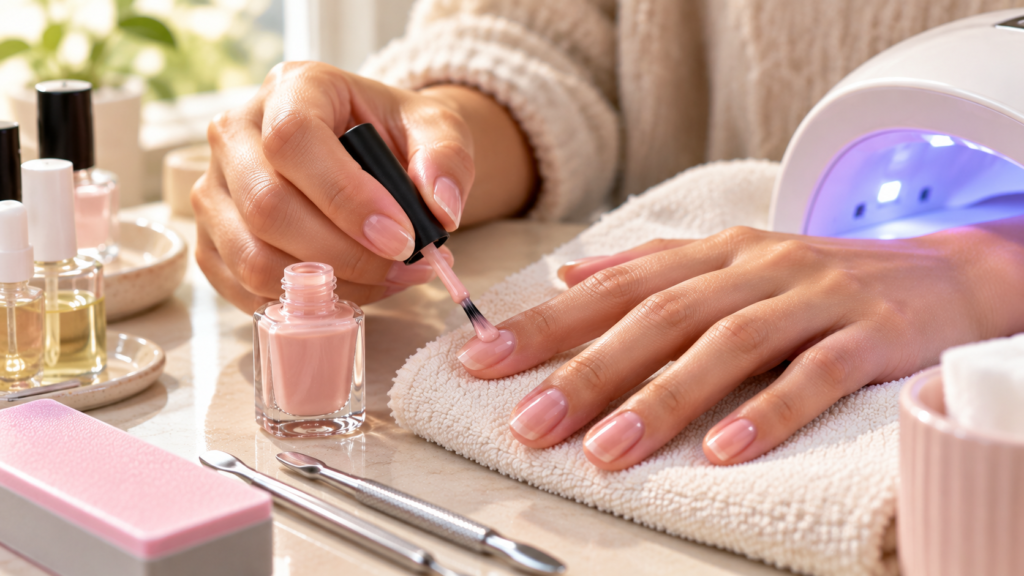
Some colors make small application mistakes less noticeable. Sheer pinks, soft nudes, and light neutral shades are popular choices for beginners because they create a simple, understated look.
Consider starting with these options:
- Soft pink.
- Sheer nude.
- Milky white.
- Light beige.
- Muted pastel shades.
Lighter colors can still require careful application, but they may feel easier to work with than very dark shades. Choose a color you enjoy and focus on building your technique with each manicure.
Read More : 27 Blue Nails Ideas That Feel Fresh and Elegant
14. Apply Two Thin Color Coats
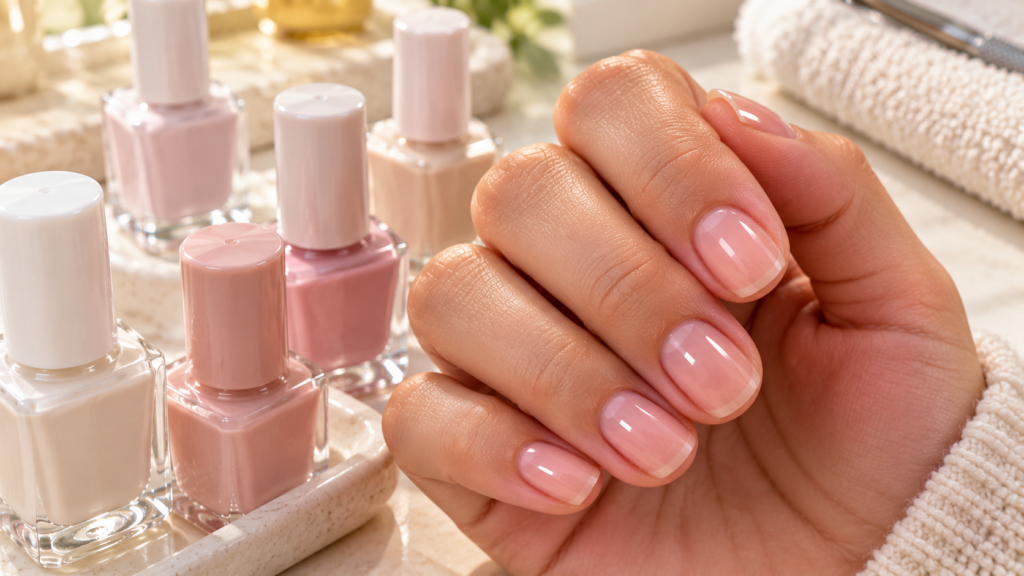
Two thin coats often provide better coverage than one thick coat. Applying color gradually helps you control the amount of product and creates a smoother finish.
For an even result:
- Apply the first thin coat.
- Keep the edges neat.
- Cure it as directed.
- Apply a second thin coat if needed.
- Cure the second coat properly.
Some colors may need more than two coats, depending on their formula and coverage. Always follow the product instructions and avoid thick layers that may not cure correctly.
15. Check Nails Before Applying the Top Coat
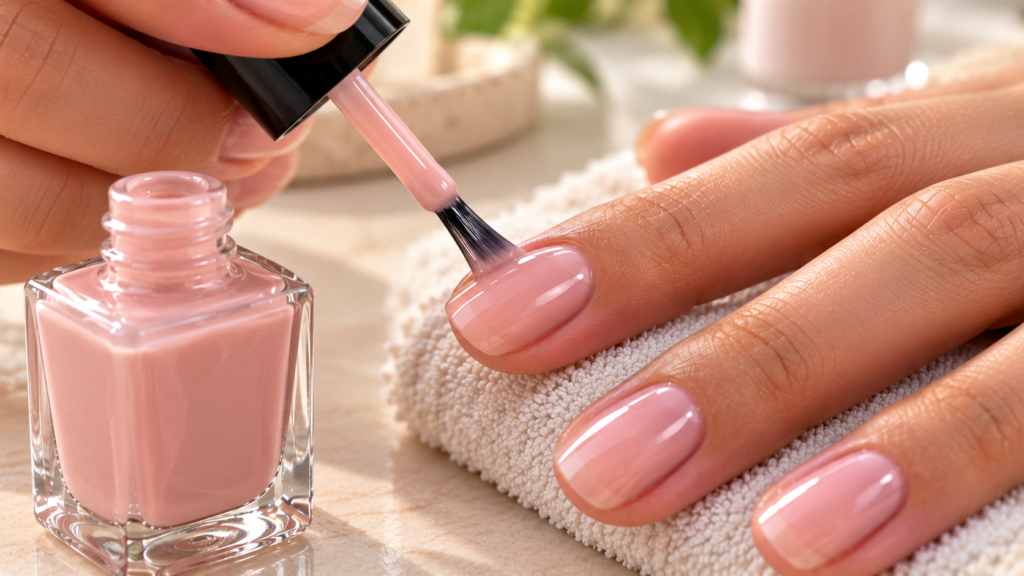
Inspecting your nails before the final top coat gives you a chance to spot uneven color or application mistakes. A quick check can help you achieve a cleaner overall appearance.
Look for these common issues:
- Uneven color coverage.
- Rough or bulky edges.
- Polish touching the skin.
- Missed areas.
- Visible dust or debris.
Correct mistakes before curing the affected layer. If gel has touched your skin, remove it safely before curing. Do not simply cover the mistake with more polish.
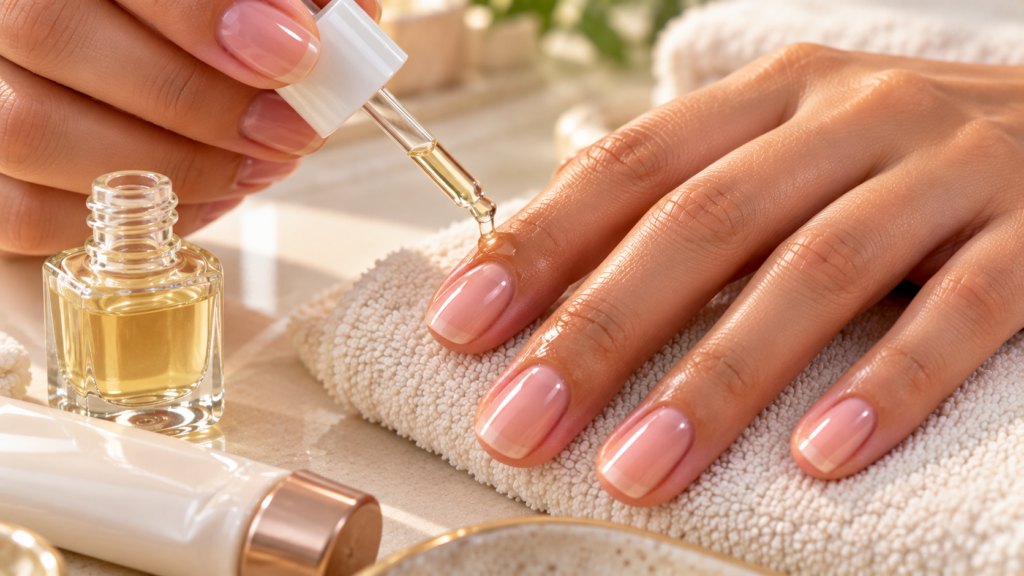
16. Moisturize Cuticles After Finishing
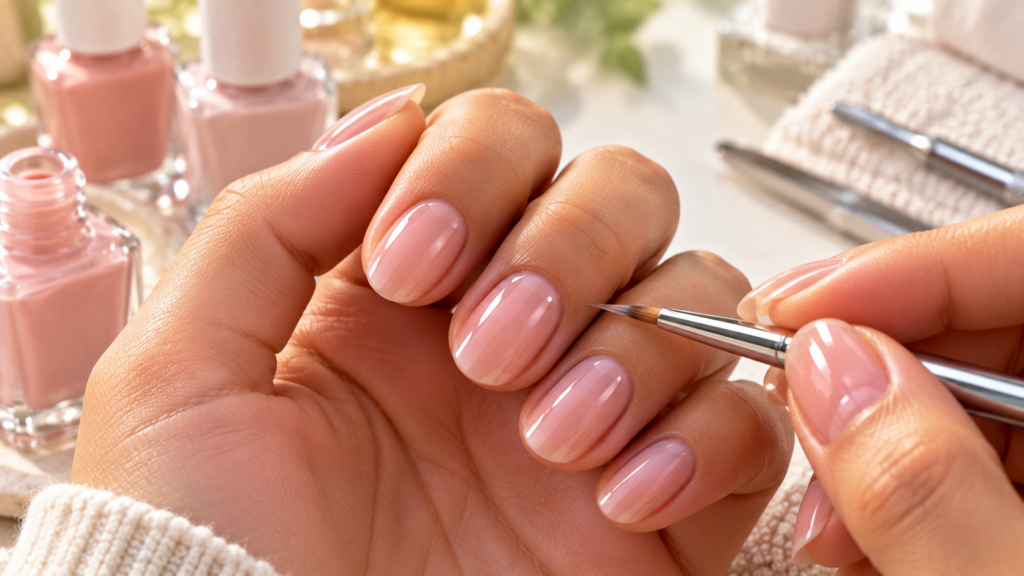
Cuticle oil and hand cream help moisturize the skin around your nails after your manicure. These products can make your hands feel softer and improve the appearance of dry cuticles.
Complete your manicure with these steps:
- Finish curing all gel layers.
- Clean any sticky layer if instructed.
- Apply cuticle oil around the nails.
- Massage gently into the surrounding skin.
- Use hand cream if your hands feel dry.
Keep oils and creams away from the nail surface if you plan to apply more gel products. Moisturizing is best done after the manicure is complete.
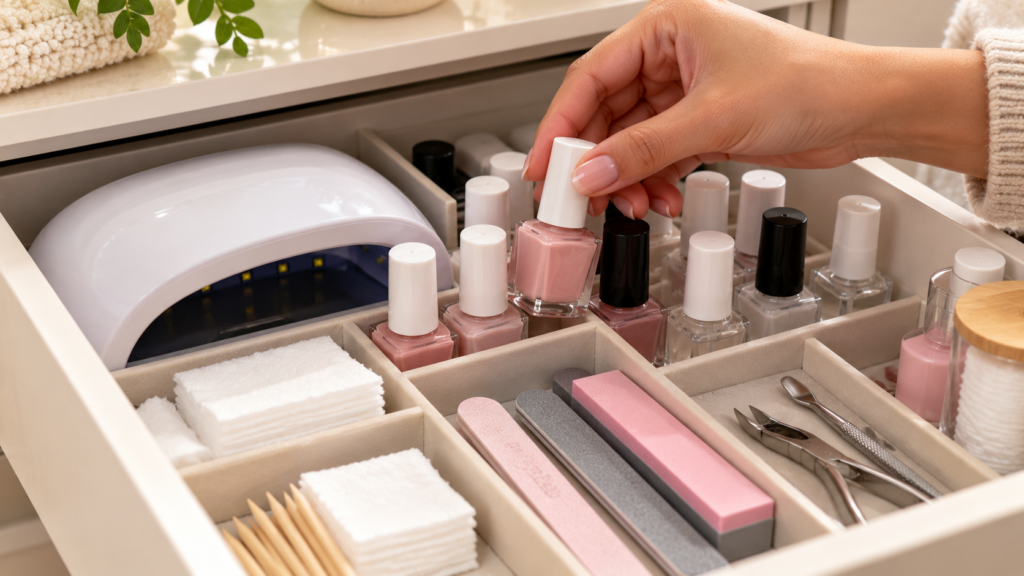
17. Store Gel Products Correctly
Proper storage helps maintain the quality of your gel polish and other nail products. Direct sunlight and excessive heat can affect some formulas, so follow the storage directions on each product.
Keep your supplies organized by following these tips:
- Store bottles in a cool, suitable place.
- Keep caps tightly closed.
- Protect products from direct sunlight.
- Clean bottle necks after use.
- Keep products away from children and pets.
Store your gel products according to their labels. An organized nail kit also makes it easier to find what you need during your next manicure.
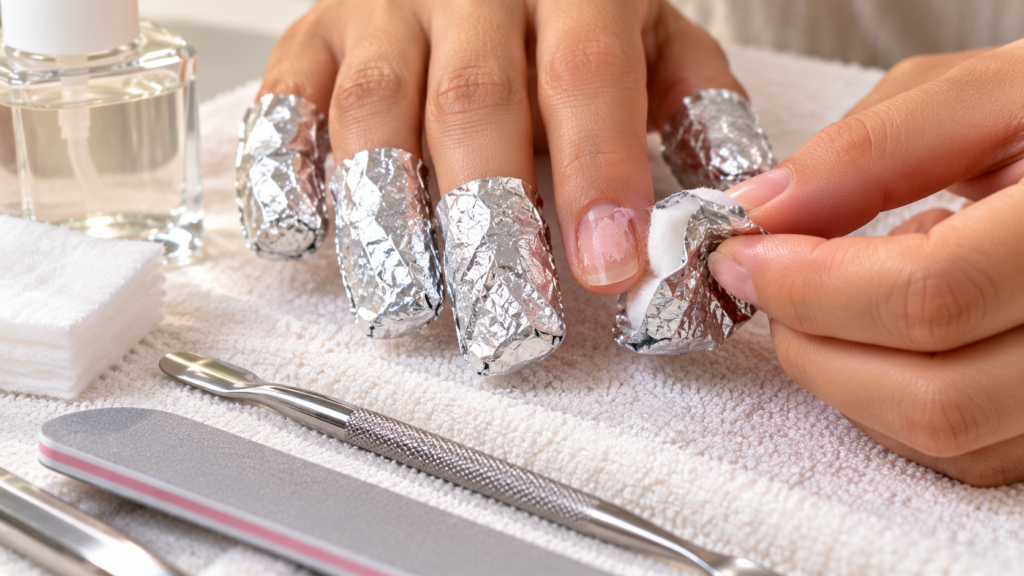
18. Learn Proper Gel Removal
Removing gel polish carefully is just as important as applying it correctly. Peeling, picking, or scraping off gel can remove layers of the natural nail and leave it rough or weak.
Use these safer removal habits:
- Identify whether your gel is soak off or file off.
- Follow the manufacturer’s removal instructions.
- Use the recommended removal products.
- Avoid forcefully scraping the nail.
- Stop if removal causes pain.
Not all gel products can be removed in the same way. If you are unsure about the correct method, ask a qualified nail professional rather than risking damage to your natural nails.
Read More : 27 Chic Short Nail Designs That Look Stylish and Effortlessly Cute
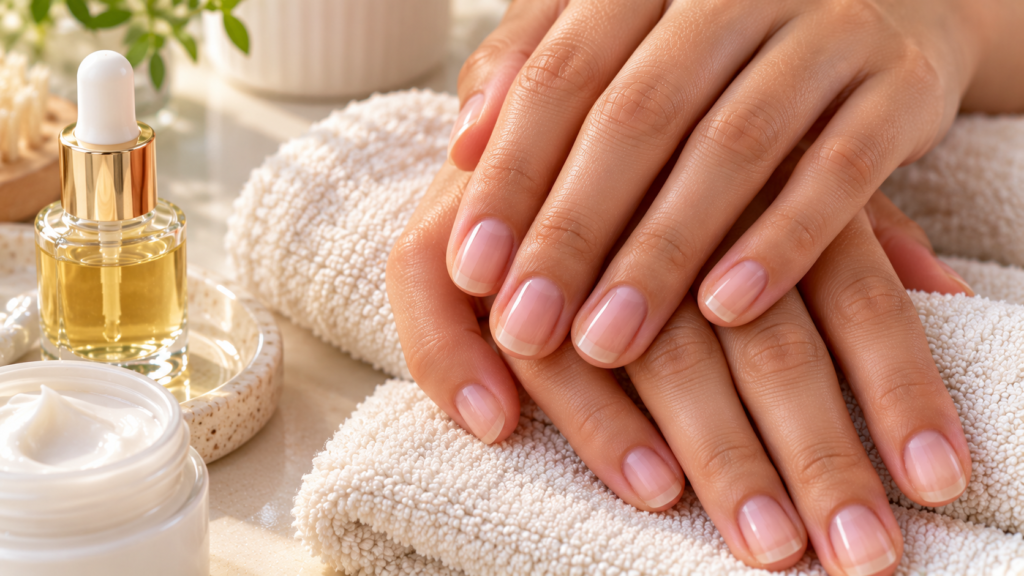
19. Take Breaks When Needed
Taking a break from gel manicures can give you time to inspect your natural nails and focus on basic nail care. A break is especially useful if you notice dryness, peeling, or damage.
During a break, focus on:
- Keeping nails at a comfortable length.
- Applying hand cream regularly.
- Using cuticle oil when needed.
- Avoiding picking or peeling.
- Watching for unusual nail changes.
A break does not automatically repair damaged nails, but it can help prevent further damage from repeated application and removal. Allow damaged areas to grow out naturally.
20. Practice Consistently
Learning to do gel nails at home takes practice. Your first manicure may not look perfect, but repeating the basic steps can help you improve your control and application technique.
Build your skills by focusing on:
- Applying thin, even coats.
- Keeping polish away from skin.
- Shaping nails consistently.
- Following curing instructions.
- Removing gel without force.
You do not need to learn nail art immediately. Mastering preparation, application, and removal first will give you a better foundation for more detailed designs later.
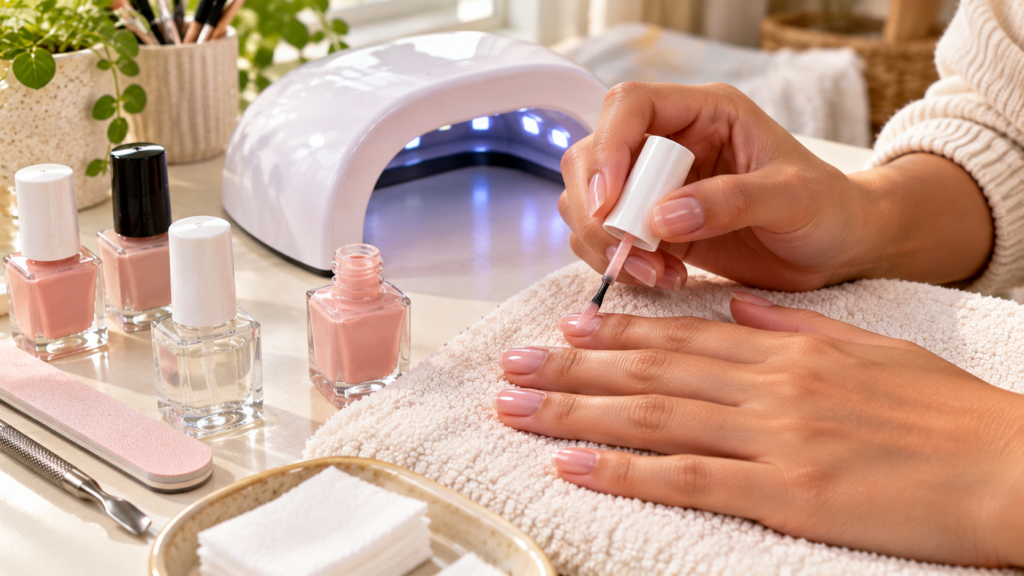
21. Build a Simple Gel Nail Kit
A beginner nail kit does not need dozens of products. Start with a few compatible essentials and add more tools as you become comfortable with the process.
Your basic kit can include:
- Gel base coat.
- Gel color polish.
- Compatible gel top coat.
- Recommended UV or LED lamp.
- Nail file and lint free wipes.
You may also need a suitable cleanser and removal supplies, depending on your gel system. Choose products with clear instructions and prioritize safe application over buying a large collection.
Read More : 19 Elegant Black and White Nail Ideas That Feel Timeless and Chic
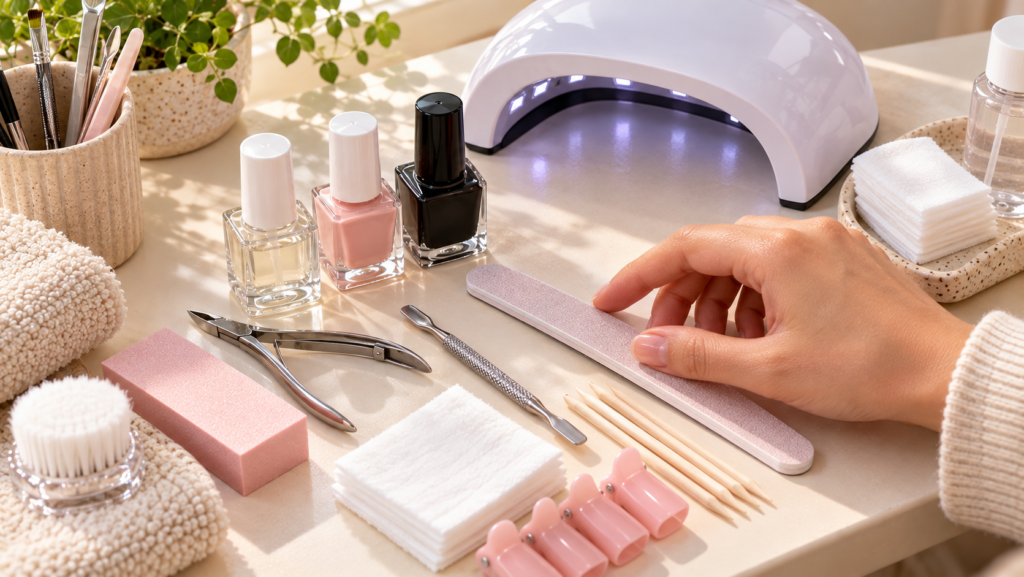
22. Follow Product Instructions Carefully
Different gel polish brands may require different preparation methods, curing times, and removal techniques. Following the instructions helps you use each product as intended.
Before starting your manicure:
- Read the application directions.
- Check lamp compatibility.
- Follow the recommended curing time.
- Review the removal instructions.
- Check product warnings and precautions.
Avoid mixing products without checking whether they are compatible. If the instructions are unclear, contact the manufacturer or ask a qualified nail professional before using the product.
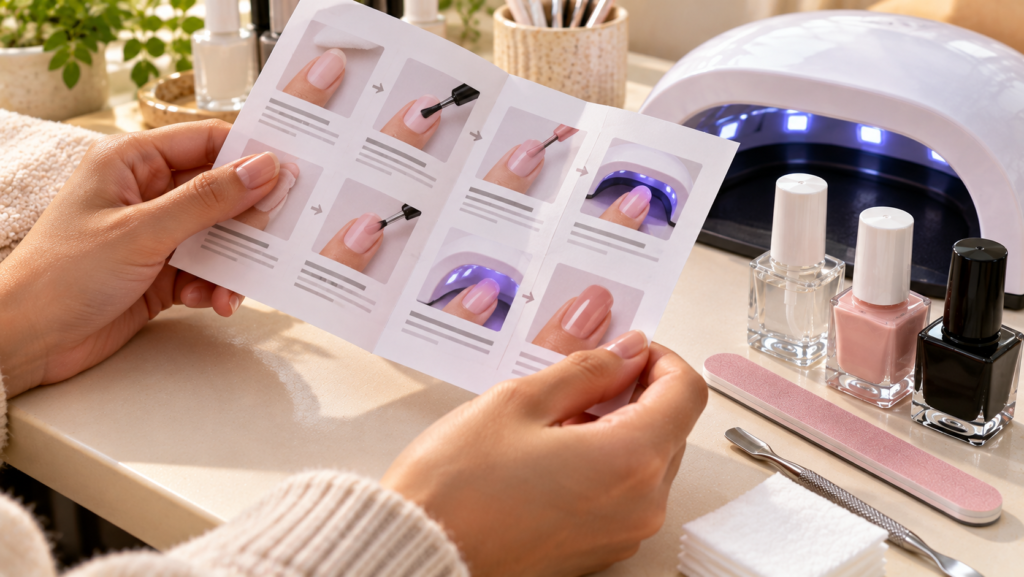
23. Enjoy the Learning Process
Doing gel nails at home should be an enjoyable way to explore your creativity. You may make small mistakes while learning, but each manicure gives you a chance to improve your technique.
Make the experience more enjoyable by:
- Starting with simple colors.
- Practicing one technique at a time.
- Trying easy designs first.
- Taking photos of your progress.
- Giving yourself time to improve.
You do not need perfect results on your first attempt. Focus on safe application and gradual improvement, and try more detailed nail designs when you feel ready.
Frequently Asked Questions
What do I need to start doing gel nails at home?
You generally need a compatible gel base coat, color polish, top coat, UV or LED lamp, nail file, lint free wipes, and suitable removal supplies. Follow your gel system’s instructions when choosing tools and products.
Are gel nails beginner friendly?
Yes, beginners can learn to apply gel nails at home. Start with simple colors, practice thin application layers, and learn safe curing and removal before trying detailed nail art.
How long do gel nails usually last?
A gel manicure may last around two to three weeks, depending on the product, application, nail growth, and daily activities. Remove it according to the product instructions rather than waiting for it to peel off.
Why does my gel polish peel quickly?
Common reasons include poor nail preparation, product touching the skin, thick layers, or incorrect curing. Check your product instructions and make sure your lamp is compatible with your gel polish.
Can I do gel nails without a UV or LED lamp?
Most traditional gel polishes require a compatible UV or LED lamp to cure. Regular nail polish is a different product and usually dries without a curing lamp.
How do I make gel nails last longer?
Prepare your nails according to the product directions, apply thin coats, cure each layer correctly, and avoid picking at the polish. Protecting your nails during household chores may also help reduce wear.
Is gel polish damaging to natural nails?
Gel manicures can contribute to nail damage, especially when the product is applied incorrectly or removed aggressively. Avoid peeling the polish off and give damaged nails time to recover.
How often should I remove and redo gel nails?
Many people refresh their gel manicure after about two to three weeks, depending on nail growth and product condition. Follow the product’s guidance and remove the gel if it lifts, cracks, or becomes damaged.
Can beginners create nail art with gel polish?
Yes. Simple dots, lines, and minimalist designs are good starting points. Practice on a small area or nail art tip before trying more detailed designs on your natural nails.
What is the biggest mistake beginners make with gel nails?
Applying thick coats and allowing gel to touch the skin are common mistakes. Use thin layers, keep the surrounding skin clean, and follow the correct curing instructions.
Wrap Up
Learning to do gel nails at home becomes easier when you follow a simple routine. Proper preparation, thin polish layers, correct curing, and careful removal can help you create a neat manicure while protecting your natural nails.
Start with a basic nail kit and a simple color. As your confidence grows, you can experiment with new shades and easy nail art designs.
Save these beginner friendly gel nail tips for your next manicure. With regular practice and careful application, you can improve your technique and enjoy creating gel nails at home.